
How to make your own AeroGarden pods

This post follows our research editorial guidelines.
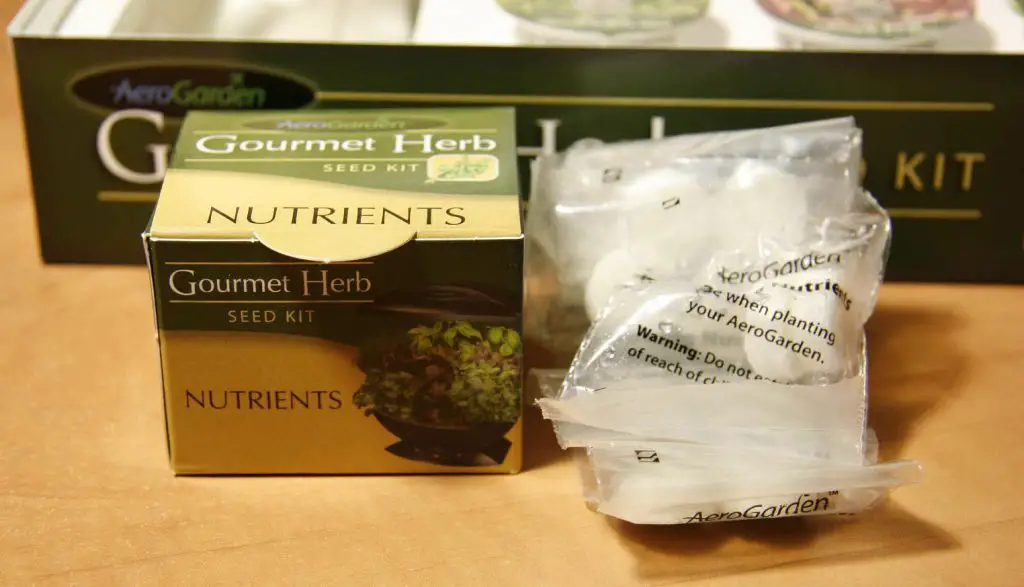
AeroGarden is arguably one of the most famous indoor gardening kits ever to have been manufactured. The produce you can grow with an AeroGarden, in your home all year long is practically limitless. – but it comes at a price.
To grow anything in an AeroGarden, you need seed pods. Granted that you can get everything quickly from AeroGarden (the grow baskets, the grow sponges, the grow labels and the grow domes), it can become too costly in the long run. Not to mention, you (and I) would be adding substantially to plastic waste.
According to George Leonard, the Ocean Conservancy’s chief scientist, “And by the time the science catches up to [plastic pollution problem], perhaps definitively concluding that this is problematic, it will be too late. We will not be able to go back.”
So, I want to make better choices while doing what I love.
Attention Garden Lovers: This post contains handpicked links to recommended gardening products. If you buy something through these links, I may earn a small commission at no extra cost to you.
This guide will explain how you can make each component for a DIY seed pod with alternative materials. Using this method will save you money and prove to be environment friendly – a win-win situation if there was ever one.
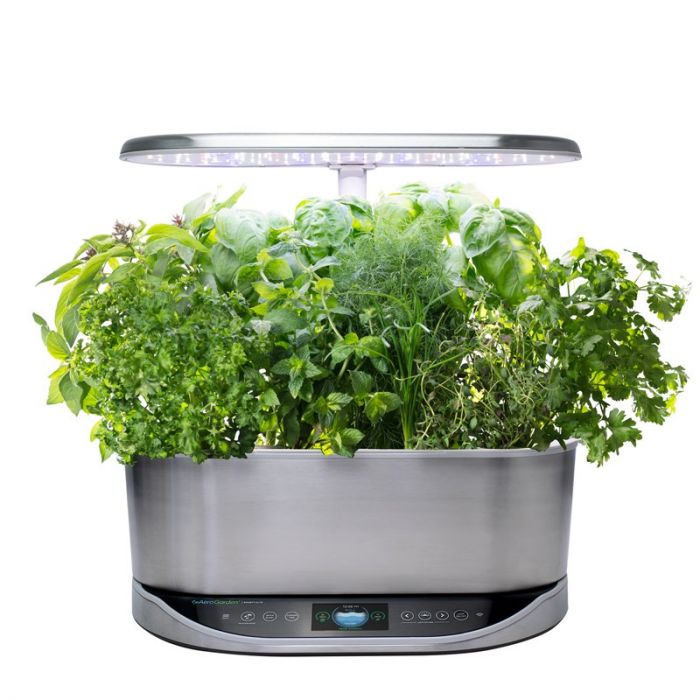
Many of the original seed pod parts are reusable, like the grow baskets, and the grow domes. You should save them to save money when you plant next. If you have the grow baskets and caps with you, all you need is the grow sponge. You can skip the grow label if you want. If your just getting started and haven’t purchased your AeroGarden yet I highly recomend you check out my review of the best AeroGarden you can buy.
However, for this tutorial, I will aim for zero plastic waste and discuss cheaper, better-suited alternatives that work just as well to grow anything in an AeroGarden. I will also discuss a few replacement materials if you wish to experiment.
Table of Contents
Step 1: Preparing the needed material
Here is all you need for your DIY AeroGarden seed pods:
- Aluminum baking trays
- Regular Sponge or Rockwool
- Aluminum Foil
- Scissors
- Knife
- Screwdriver
- Saved grow domes from previous plants or small aluminum traysIf you are frugal, there is a good chance that when you throw the reusable plastic parts from your previous AeroGarden planting, it is in a drawer. If so, you can reuse the grow domes for this DIY project. If not, you can use a makeshift cap with small aluminum cups that you can easily get from the dollar store.In this tutorial, we use a regular sponge, but if you choose to go with any alternative materials I will mention below, remember to cut them to size. It is very straightforward to cut the sponges using scissors.

Step 2: Form the aluminum cylinders
Once you are ready with your DIY grow sponge and the caps (whether pre-saved or makeshift), it is time to make the grow baskets. To reduce plastic waste, I will shape aluminum into cylinders and use them as grow baskets.
For this, you will need heavy-duty aluminum baking trays. These can be very sharp when cut, so you have to tread carefully. Take your time when cutting and shaping these. It is okay to use a few extra minutes than to risk injuring yourself.
The AeroGarden grow baskets are 3 inches long. The narrow bottom is a little shy of a ¾ inch, and the widest part, when measured across, is one and ¾ inch. Cut the aluminum tray with scissors so that you can manipulate it into the same size as the grow basket easily.
Make small slits and fold the foils to resemble a cylinder. Now, make a rimmed circle at the top with the help of small slits till you can shape it to size. The rim will allow the homemade seed pods to sit snugly in the AeroGarden without falling in. Fold the tips down (cut them beforehand) so that you can create a solid edging for the top-wide part.
Alternatively, you can use a discarded film canister for the homemade grow basket (a 35 mm one should work) and cut slits in it with a sharp knife or a rotary tool. Just make sure it fits well. Slotted Mesh net cups could also work as plastic holders. You can cut them at the bottom and top to manipulate them into shape.
Step 3: Add drainage to cylinders
Once the aluminum cylinders are ready, you now have to add drainage to them. The slits will allow water and plant nutrients to reach the seeds and for the roots to propagate. In a store-bought grow basket, you have three longitudinal slits and an opening at the base, which allows the roots to grow under once the seeds germinate. I aim to add slits and holes to the makeshift cylinder so that the plant roots can grow without restriction.
To add drainage, take a knife and make slits from top to bottom. Leave a little space on both ends so that you don’t tear through the cylinder. When you do this, be very careful. The knife and the aluminum edges are incredibly sharp and can cause serious injury. Make the slit edges as smooth as possible by twisting the knife around a little – again, being cautious is key. Make a few holes at the bottom to allow roots space to grow.
A tip from my side would be to do this on a hard surface like a table so you can have a better grip. Do not try to do this with the cylinder in your hand.
Once you have added drainage to the aluminum cylinder, the most dangerous part of the tutorial is over. Take your time during this step.
Step 4: Form grow sponge
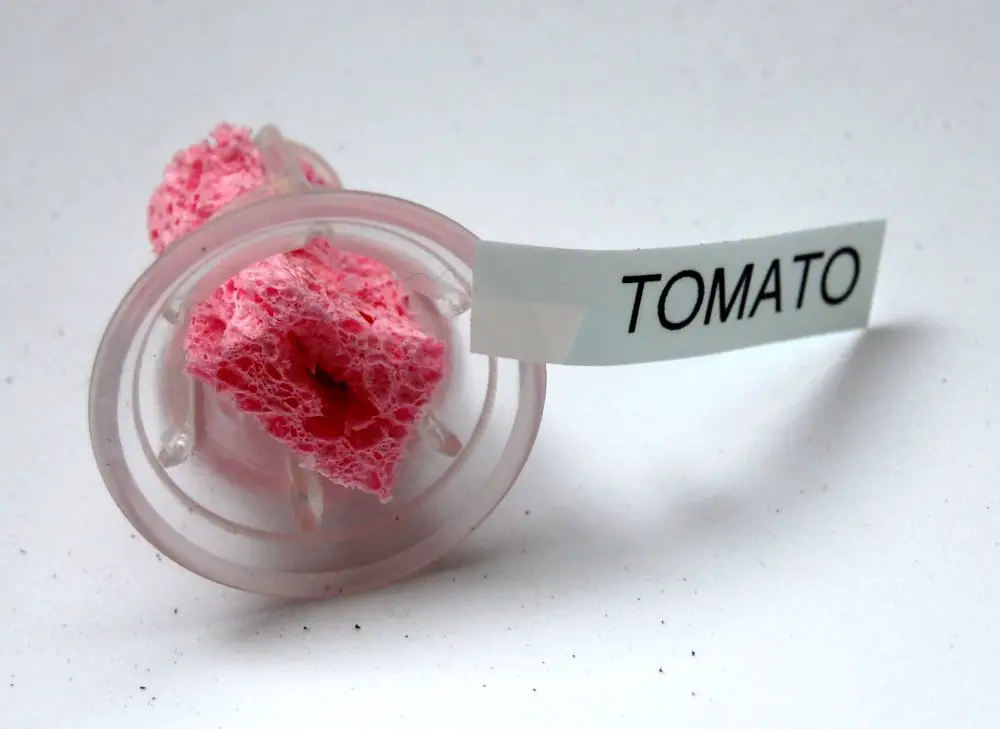
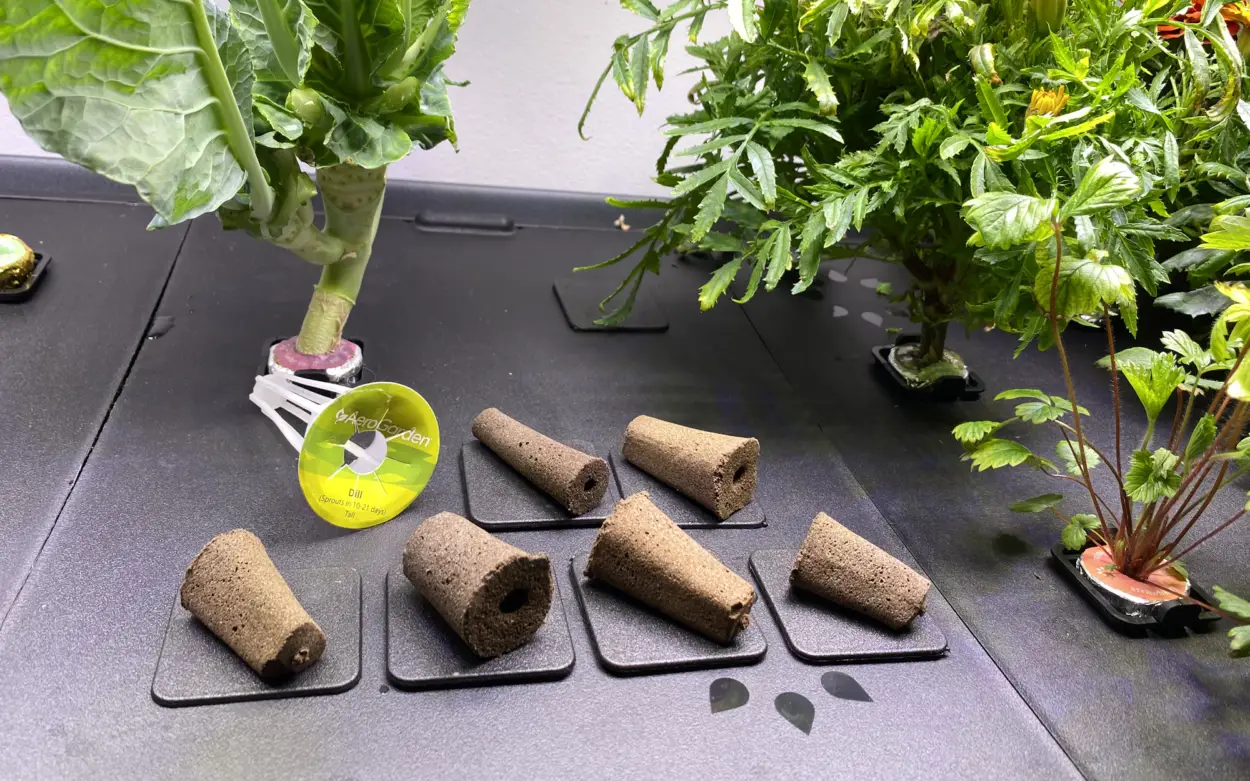
Take regular sponges and cut them to size to fit into your aluminum grow basket. If you want, you can replace the sponge with weatherstripping seals or open-celled foam. Another good alternative for a grow sponge is Rockwool. The original AeroGarden grow sponge measures about two and ⅝ inches long. At the top, it is ¾ inch wide and narrows down to ½ an inch at the bottom.
The sponge should almost be 3/4th the length of the aluminum cylinder. Now you should insert the sponge inside the pod, but you have to make holes in it before that.
Take a screwdriver or any pointed tool and insert it from the top, halfway through the sponge. This is the central hole where you will be inserting the seeds. After that, you have to add the holes on the side. With the help of the screwdriver, make the side hole, going deep enough to reach the central hole. In this way, you will allow the roots enough space after the seeds germinate and spread out from the side holes out of the aluminum pod.
Suppose the holes aren’t made properly, the roots will suffocate, and your plant won’t grow.
If you are using Rockwool, wash it clean beforehand but be careful not to crush it. With Rockwool, you should also be careful to add a cover on top, just like the grow label, as algae might grow on it. You can use a folded-up business card that is cut to size for this.
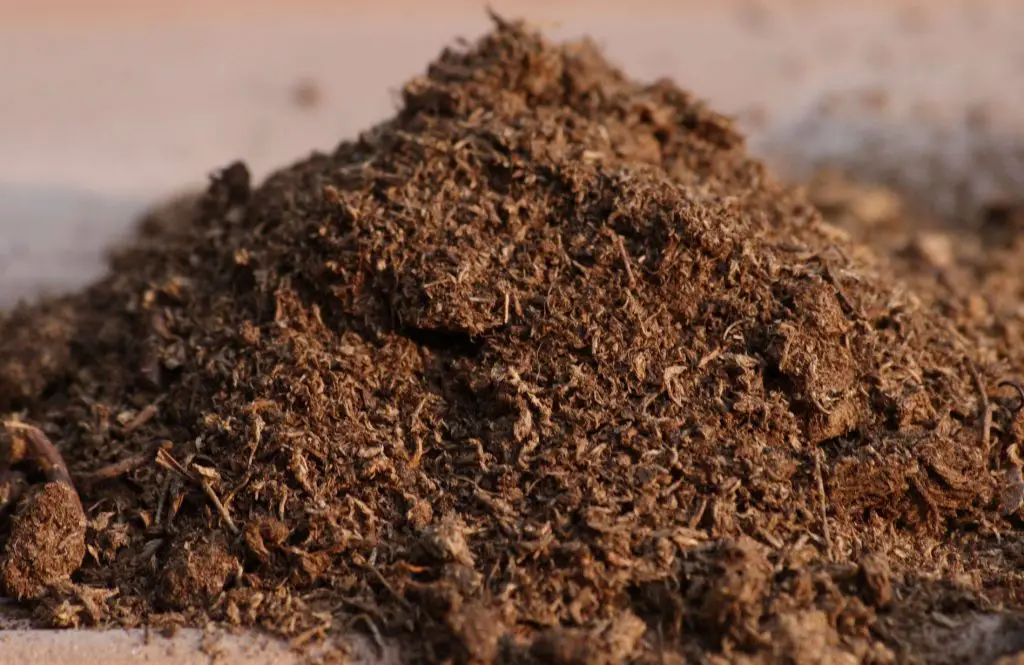
Another alternative could be Peat Moss. You can soak it in ample water and shape it using PVC piping as a mold. Dry it in a sunny location for a day or two, and they should be ready to plug. However, this is not a sustainable choice since it is not environmentally friendly.
Step 5: Insert grow sponge and plant seeds
Now, your homemade seed plug is ready to be inserted into the pod. As I said earlier, it should be 3/4th the size of the pod. Thus, at this time, trim the excess sponge if it doesn’t fit.
AeroGarden Seed Plugs
Pack of 50
These are a great option if your looking for a bit more stability in your grow baskets.
Benefits: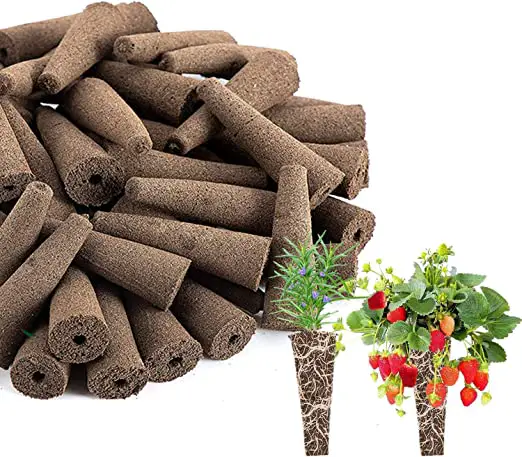
Insert the seeds in the sponge before you place it in the pod. You can leave this step for later, but doing it beforehand will give you more freedom to ensure the seeds are inserted correctly. With the seeds in, place the sized sponge in the homemade pod. Remember that you may have to push the sponge in a little, but be careful not to go in too much.
With the seeded sponge snug in the seed pod, make the longitudinal slots on the pods a little wider to allow a more effortless water flow and other needed nutrients to the seeds. Ensure there are holes at the bottom of your pod that are also wide enough to allow the same. With the sponge fixed in, you will get a better idea if the slits are big enough or not. If not, you can make the required adjustments.
Step 6: Create aluminum caps
For this step, cut a small square, enough to cover the top of the pod. To fold it around the rims of the pods, size it accordingly. Place the square on top and fold around the pod edges. Make a hole in the center, which will allow the plant to grow upwards. This cap allows the light to reach the seeds for the plant to grow.
Step 7: Cover the pods with the caps once planted
Now, cover your seeded pod with grow domes saved from previous plantings. This is where taking the time to size and shape the cylinders comes into play. If you have been careful about measurements, the dorms should fit perfectly. If you don’t have any store-bought domes, use the small aluminum cups as covers.
And there you have it. Your seed pods are ready to be inserted into your AeroGarden. Please give it a spin using different seeds to see what works well and what doesn’t.
What are AeroGarden pods made of?
The AeroGarden grow baskets and dome are made of plastic, whereas the seed plugs or the grow sponges are made out of pure Canadian Sphagnum Peat. The grow labels are made out of paper.
The problem with Sphagnum Peat Moss is that it is not renewable, which makes it harmful to the planet in the long run, especially at the rate that it is being harvested. So, when using the store-bought seed plugs, you have to be aware of what you’re contributing to the environment. Buying seed pods that use plastic as well as Peat Moss is not suitable for the environment. Thus, you can play your part by finding alternatives.
Can you use any seeds in an AeroGarden?
With the Grow Anything Kit, you can use your own seeds in an AeroGarden. Given the pre-seeded kits are easier to use since they have been tested to grow successfully hydroponically. However, the fun is in experimenting.
The basic rule to follow is that anything that can grow above the ground can be grown in AeroGarden. Saying that, some plants grow a lot bigger than others, so while you can use the AeroGarden to start them, you will have to transplant them outdoors later to continue optimal growth.
For successful growth of varying seeds, you can opt for models of AeroGarden with different grow heights – from 12 inches to 24 inches. Plants that grow bigger will naturally do well in taller models.
So, technically, you can grow any seeds in an AeroGarden, given that you take care of what is needed for optimal growth. For this purpose, you can check the seed pack. The pack will contain instructions on how big the plant can get when mature and how to take care of it.
Can you reuse AeroGarden sponges?
Once the roots grow through the sponges, you will not be able to reuse them. The plastic components – the grow basket and dome can be used again after proper cleaning. However, the sponges need to be replaced.
Although it is not recommended, the only way to reuse a sponge is to do so if the seeds do not work. Without viable roots, you may still be able to plant new seeds and pray the sponges to work. Thus, it is always better to get new sponges or, for better sustainability, use the alternative materials mentioned in this guide.
With this tutorial, I have tried to develop a pocket and environmentally friendly method to use your AeroGarden. If you follow this DIY, drop a comment on how it went.


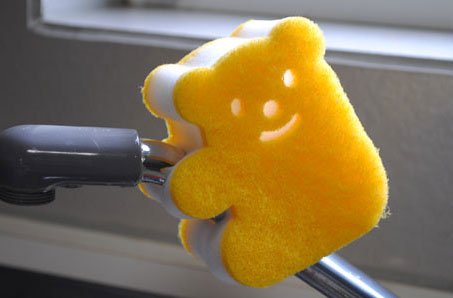
Regular sponges are not the best material for seed pods.
That’s right Igor, if your looking to save some money by making your own grow sponges cellulose sponges will work in a pinch. Personally I prefer coco peat when making seed sponges. 🙂
for peat sake
“You cannot go against nature
Because when you do
Go against nature
It’s part of nature too”
DANIEL GASTON ASH, DAVID JAY, KEVIN HASKINS
Great quote! Thanks for sharing
Personally, I’ve had terrible luck trying to use rockwool. My best success is with the little compressed peat pots disks. After soaking, cut the cloth outer sack and you can get enough to easily fill 3 aerogarden baskets – of course my old model has an air pump, not a water pump. I like the idea of coco peat. Will try that next.
Expanded clay balls can work really well too. You could get a small pack for a few dollars and re-use them after a good soak in some vinegar. 8-12mm is a good size for the AeroGarden seed baskets.