
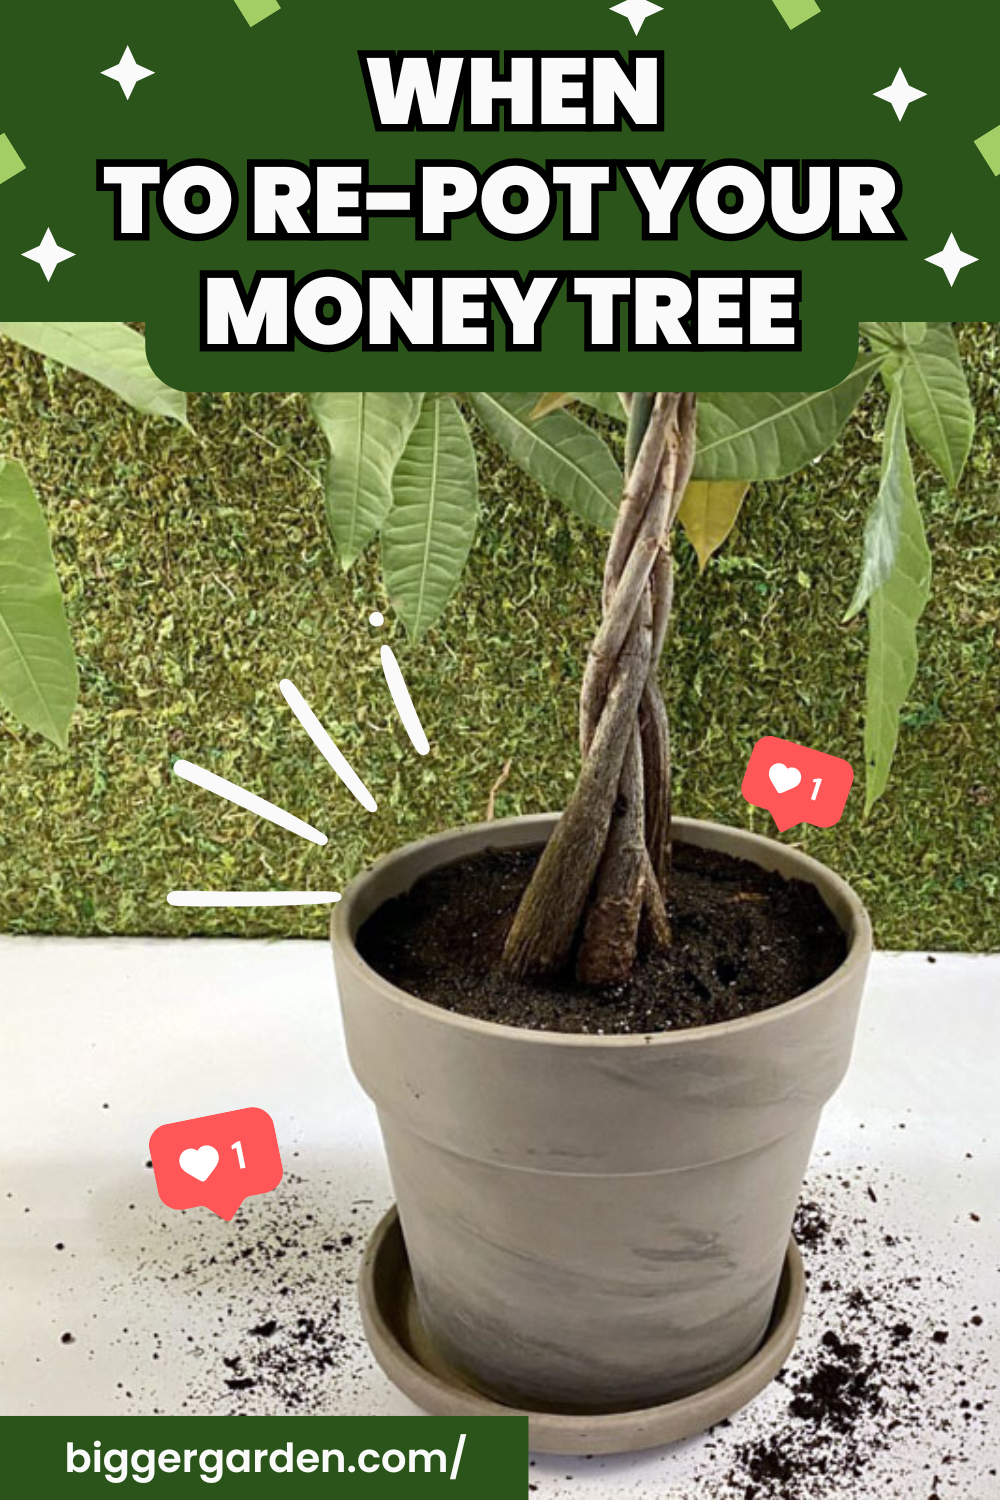
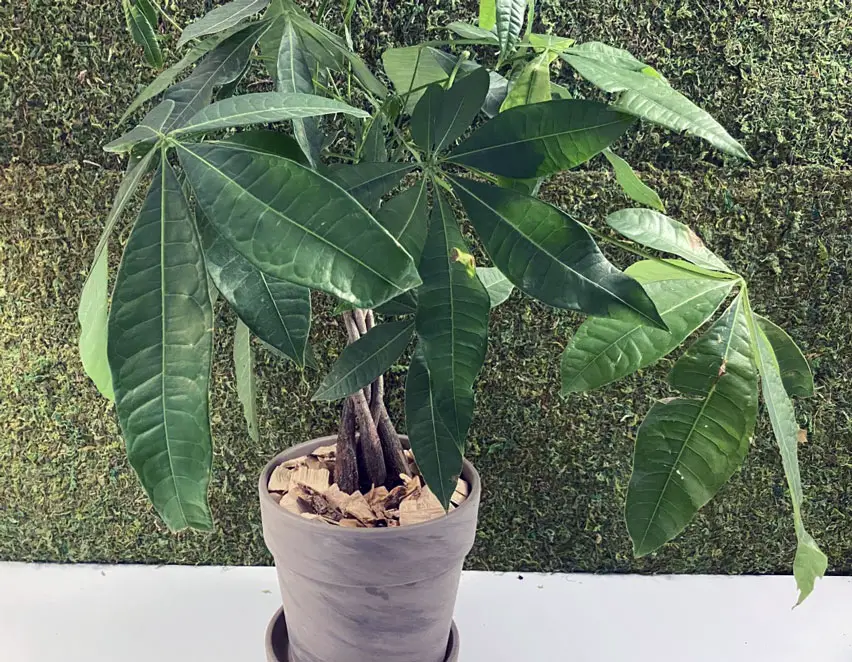
How to Re-pot a Money Tree

This post follows our research editorial guidelines.
Is your money plant looking shabby and a bit less prosperous than you’d like? Perhaps its fortune has failed and somehow wound up with broken the pot, or the unlucky thing is struggling with sick roots. It might just be time revive its fortunes by re-potting your money tree.
For most, repotting a money tree once every two years in the late spring is ideal. Use a free draining potting mix and a container with at least three drainage holes. Start by cutting away roots that are mushy or are root bound. Pour new soil in a sanitized pot, place the money tree and water deeply.
Quickly Find Re-potting Steps
Why re-pot a money tree?
Your money tree’s whole world is contained to its pot. That humble soil holds all its water and nutrients, offering protection and support to the entire plant. But it needs help to maintain those properties.
“Many potting soils contain compost, peat, or other organic matter that decomposes over time, This may result in the production of chemicals toxic to the plants or a change in the drainage characteristics of the soil.”
Dr. Marisa Thompson, a Horticulture Specialist at the New Mexico State University
A healthy money tree will also gradually outgrow its pot. The roots become packed together so tightly that no water or nutrients can reach them. Freshening up your money tree’s living quarters give it more room to grow, and improves its access to water and the nutrition in the soil.
Re-potting is also a crucial treatment for over-watered money trees stricken with root rot. Roots become waterlogged and start to drown, and once they die the money tree is in trouble. The soil itself has started to decay and is taking the money tree down with it. Giving that stricken money tree new soil and a clean pot helps remove hazardous fungi and bacteria. It provides the sick plant with soil that’s once more capable of sustaining it, and it gives us a chance to remove any dead or dying roots.
How Often To Re-pot A Money Tree?
In general, money plants can go a little longer than most indoor plants between re-potting, and will do just fine if you only repot every two to three years. Money plants enjoy being somewhat root bound. They really don’t need too much space. It’s just a matter of keeping them fed and watered.
While root binding is not a substantial problem, issues with soil quality are. Organic material critical to maintaining the right moisture levels will degrade to nothing by the end of the third year, making it difficult to keep the money tree well watered.
When to Re-pot a Money Tree
Re-potting is a stressful affair for your money tree, so save re-potting for when it is feeling its strongest. Money trees are true tropicals, with a natural range through the hottest, most sultry parts of Central and South America. They do the bulk of their growing during the spring and summer months. It’s a great time to re-pot. Any damage to the roots will heal more effectively.
Avoid re-potting in the late fall or winter. For many money trees this is a time of rest, with the plant winding down to sleep its way through the cold part of the year. This is known as dormancy, and you can cause real problems for your money plant if you go messing with its roots. No matter how gentle we are, re-potting causes injuries that just won’t heal on a dormant plant, risking fungal infections and root rot.
Speaking of which, treatment for root rot is about the only reason you should be re-potting the money tree in the winter. There’s no time to waste when disease strikes. Likewise if you’ve had some misfortune and the money plant’s pot is broken, it’s worth re-potting immediately no matter the season. The damage is already done.
What type of soil to re-pot in
In their natural range, money trees live on frequently flooded riverbanks and freshwater estuaries. This means they love to have lots of water to hand, but always fresh, and always flowing.
As a houseplant, your money tree needs a growing medium that is has both good moisture retention and excellent drainage properties. It’s often best to mix your own soil for a plant with such specific requirements.
I love an equal mix of good quality potting soil one one part each of perlite and an organic element like moss or coco coir. The perlite provides excellent drainage and structure, while the moss or coir hold just the right amount of moisture in the soil without becoming boggy or stale.
I go into more detail about how to blend your own soil for money trees here. That said, If you don’t have the space to blend your own, a highs quality general use potting mix should do the job.
What size container to re-pot a Money Tree in
If you are refreshing the soil in your money tree’s pot after some years of use, you may find you can stick to the original pot. Provided there’s enough room for growth, there’s no need to size up. But if you get your money tree free and find a mass of tangled roots with very little soil, it’s time to size up!
Best practice is no more that two inches larger across than the previous pot. This gives room to move, but prevents the pot developing unoccupied real estate at the edges of the container. Large volumes of soil without roots tend to become stagnant in time, holding stale water and playing host to fungi and other microbes of the nastier sort.
How To Transplant Money Trees
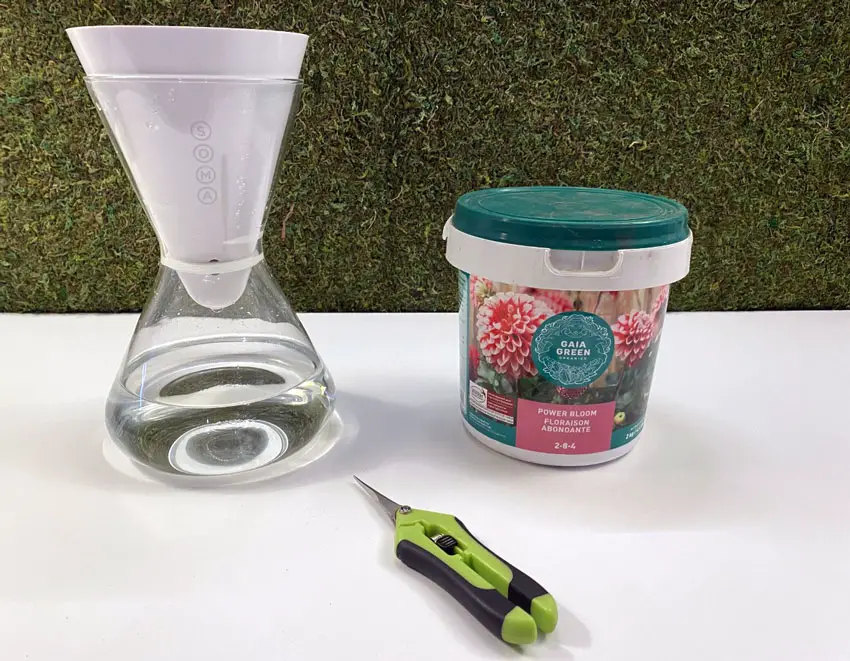
You will need:
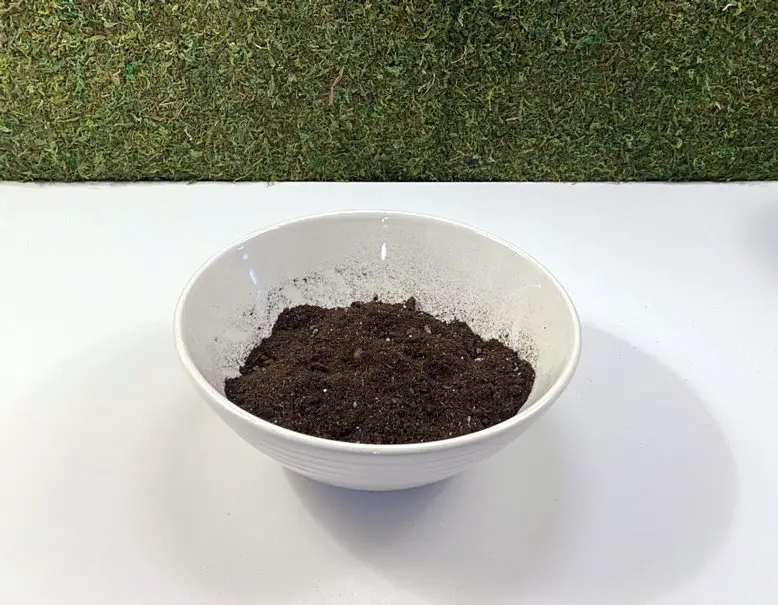
- Fresh, clean potting blend
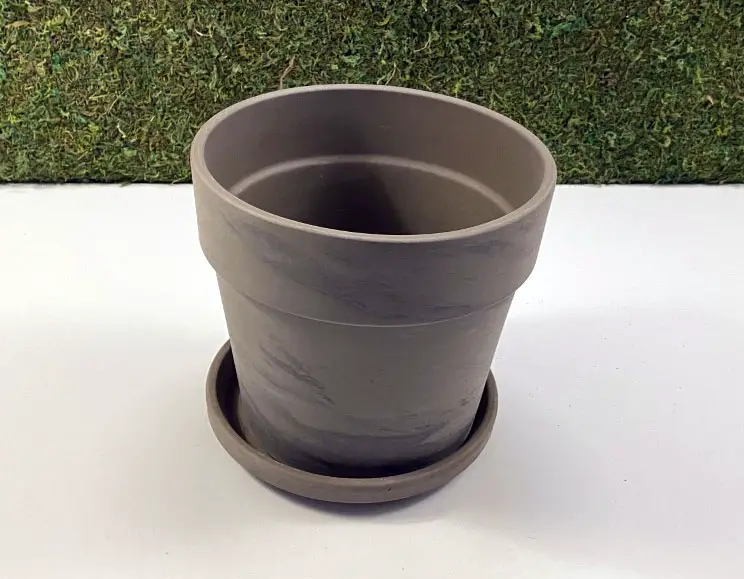
- A pot with at least three drainage holes
- Small shovel or trowel
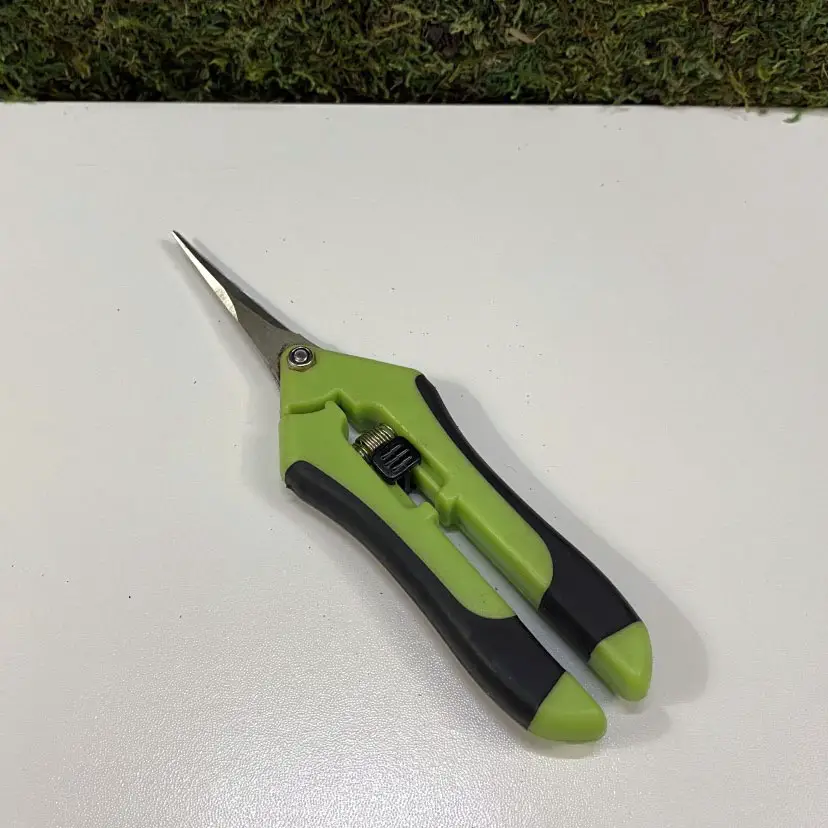
- Sterile shears or scissors
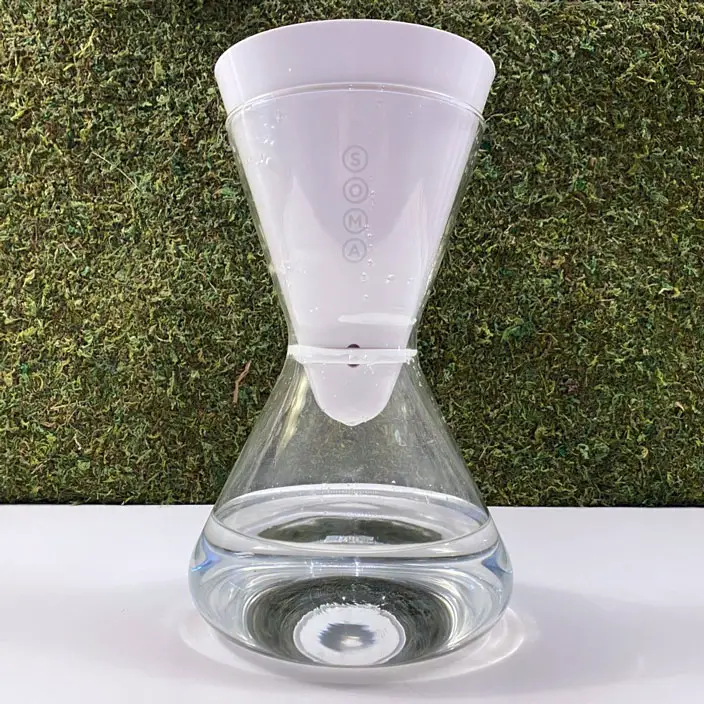
- Plenty of distilled, filtered or tap water
- Water soluble low nitrogen fertilizer
- Sterile potting mix
- (optional) A tarpaulin or old sheet to catch spills.
- A water soluble low nitrogen fertilizer
1. Gather Supplies
Start by laying out your supplies. If you’re working indoors, laying out a tarpaulin or sheet will protect your work surfaces.
2. Prepare the new pot
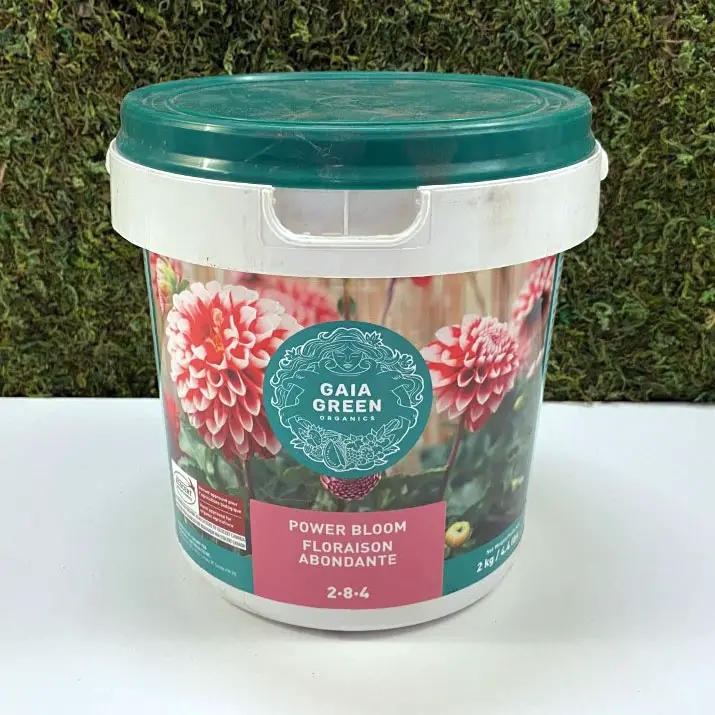
Prepare your pot by adding a few inches of your potting mix to the bottom of the pot mixed with a high phosphorous fertilizer like the Gia Green power bloom. Phosphorous will help the roots develop quickly.
3. Work the roots
Gently work your money plant free of its pot. Roots protruding from drainage holes can either be worked free gently or trimmed away.
4. Place the money tree in the pot and fill in potting mix
Place your plant into the new pot and fill around the root mass. Gently shake the pot from time to time in order to settle the mix as you work.
5. Pat down the soil and and water deeply
Ensure the roots are covered and the money tree is stable in its new home. Water thoroughly and allow to drain. You may find that the level of the soil falls somewhat during this first watering – this is perfectly normal, a result of the water working the mix into any remaining gaps around the roots. Just top up the pot as needed to bring it back up to a comfortable level.
6. Wait for full drainage
Allow to drain completely before returning the newly potted money tree to its original location. It may be tempting to put your refreshed money tree in a new, more prominent spot, but re-potting is stressful and the plant will recover best if it goes home for a bit, so to speak.
How to Re-pot a Money Tree with Root Rot
Re-potting is often a key step in correcting root rot in money trees. It clears the soil of dangerous fungi and bacteria, and will give the tree its best chance of survival. To re-pot a money tree with root rot:
You will need:
- Fresh, clean potting blend
- A new, clean pot no larger than the old one.
- Small shovel or trowel
- Sterile shears or scissors
- Powdered cinnamon
- A large basin or tub
- Plenty of distilled, filtered or tap water
- A tarpaulin or old sheet to catch spills.
1. Lay out supplies
As with a healthy money tree, start by laying out your supplies. You’ll also need to fill your basin with lots of clean, fresh water. Bring the temperature up to lukewarm by adding a dash of hot water.
2. Fill the new pot
Fill your new pot with a few inches of potting mix. A small mound in the center is also helpful, and will provide extra physical support for your damaged roots.
3. Tap the base of the old pot
Tap your stricken money tree free of its old pot.
4. Gently swirl and remove the money tree
Take the money tree by the trunk while supporting the roots with your free hand and place it in the basin of water. Swirl the root mass gently, carefully teasing free any remaining soil. This technique clears more of the contaminated soil that just removing it by hand, and its gentler by far than rinsing under a tap or with a hose.
5. Cut off dead roots
With the old potting mix now removed, it’s time to take a good look at the roots.
Diseased roots will be dark in color, often black or brown. They’ll sometimes be slimy or squishy to the touch, and in some cases the outer layer – the sheath – of the larger roots might peel away like an onion.
All these signs are bad, I’m afraid. Those parts of the root system are dead, and you’ll need to cut them away with sterile shears or scissors.
6. Add fungicide treatment
With the dead and dying roots removed, it’s time to protect the ones that remain.
Dust the remaining roots liberally with powdered cinnamon, paying special attention to any areas that you trimmed.
It might seem strange to dust your money tree as if it were a donut, but cinnamon has a clinically proven ability to kill dangerous fungi and bacteria, and also serves as an excellent promoter for root growth. It’s an excellent all rounder for helping a stricken money plant recover.
7. re-pot and tap the soil down
Carefully place your money tree into its new pot, with the new roots resting around the mound in the middle. Fill around the sided, tapping the pot from time to time to ensure the blend gets into all the nooks and crannies.
8. Water deeply
Once the roots are covered and the money tree is stable, water thoroughly and allow to drain. Top up the soil level as required, and cover any roots that may be uncovered by flowing water.
9. Allow to drain
Allow to drain completely before returning the newly potted money tree to its original location. It’s going to look miserable for some time, and you might have some leaf drop or yellowing. Don’t be tempted to put it somewhere with ‘better’ light. It needs consistent conditions in order to recover.
10. Remove contaminated soil
Dispose of the old soil and pot. It seems wasteful, but they should be considered too contaminated to recycle. While root rot can be the result of usually harmless soil microbes getting out of control, it’s just as likely you’re dealing with one of the big infectious diseases like Rhizoctonia ,Pythium or Phytophthora. It’s best to be safe and just toss the lot.
If you absolutely can’t bear to throw away the pot, a 10% bleach solution will kill just about anything. That means any future plants you put in there, so rinse thoroughly and allow it to air for at least a week once you’ve sterilized it.
11. Allow to fully dry before watering again
Finally, be patient with your poor stricken money tree. It’ll take a while for those roots to recover. During this period, be stingy with your watering. Allow the soil to dry to at least two inches deep, if not more, before you water after re-potting. Those roots are very tender indeed, and you want to let the cinnamon do its work before you risk washing it away.
Do Money Trees Like To Be Root Bound
Strictly speaking no plant likes to be root bound, but your money tree does better than most if left in a pot for a longer period. They have particularly sensitive roots, and repeated re-potting stresses their system far more than being a little crowded.
It’s important to make sure that you keep them well watered and fertilized if you plant to let them become root bound. Giving them a quarter strength dose of good quality liquid fertilizer one or twice a month during the growing seasons should do the trick, as it will give the money tree the nutrients it needs to thrive.
Final thoughts
Personally I love the chance to brighten up my money plants with a new pot and some fresh, clean soil. There’s something wonderful about really getting your hands dirty and giving a treasured part of your indoor garden just what it needs to thrive. It makes me feel very lucky indeed!