
Could You Be Planting Bulbs Better? Discover the Secrets to Perfect Blooms for Spring & Summer

This post follows our research editorial guidelines.
As the seasons shift, I find myself eagerly anticipating the planting season again. The thrill of setting bulbs now for the colorful springs and elegant summers to come is truly one of gardening’s greatest pleasures. Whether you’re dreaming of a garden vibrant with riotous colors or elegant floral displays, understanding the nuances of when and how to plant your bulbs is essential.
I’ve put together this comprehensive guide based on my own experiences to help you master the art of bulb planting, ensuring your garden remains lush and vibrant throughout the year. Let’s dive in and get our hands dirty!
Quickly Find Bulb Planting Tips:
1. Understanding the Basics: The Rule of Thumb
A time-tested approach to bulb planting is the ‘Rule of Thumb’, this involves setting bulbs at a depth three times their vertical diameter. For instance, a 2-inch tall bulb would find its home 6 inches beneath the soil surface. This method is particularly handy for gardeners just starting out and serves as a quick check to ensure your bulbs are set just right for optimal growth.
- Soil Specifics: Go deeper in sandy soil to anchor the bulbs well; in heavy clay soils, shallower planting prevents rotting.
2. Digging Deeper: Specific Depth Guidelines by Bulb Type
Each type of bulb flourishes at its own particular depth:
- Tulips and Daffodils: 6-8 inches
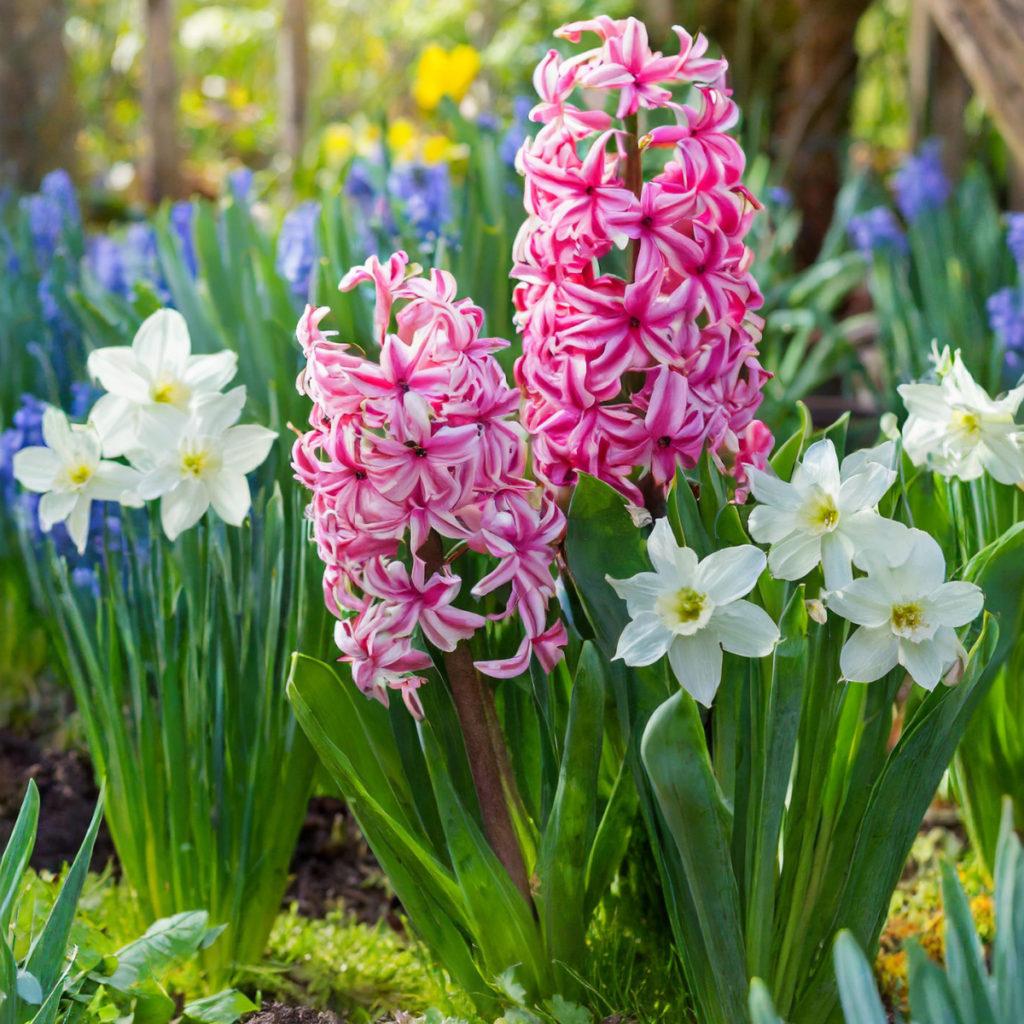
- Crocuses, Hyacinths, and Scillas: 3-4 inches
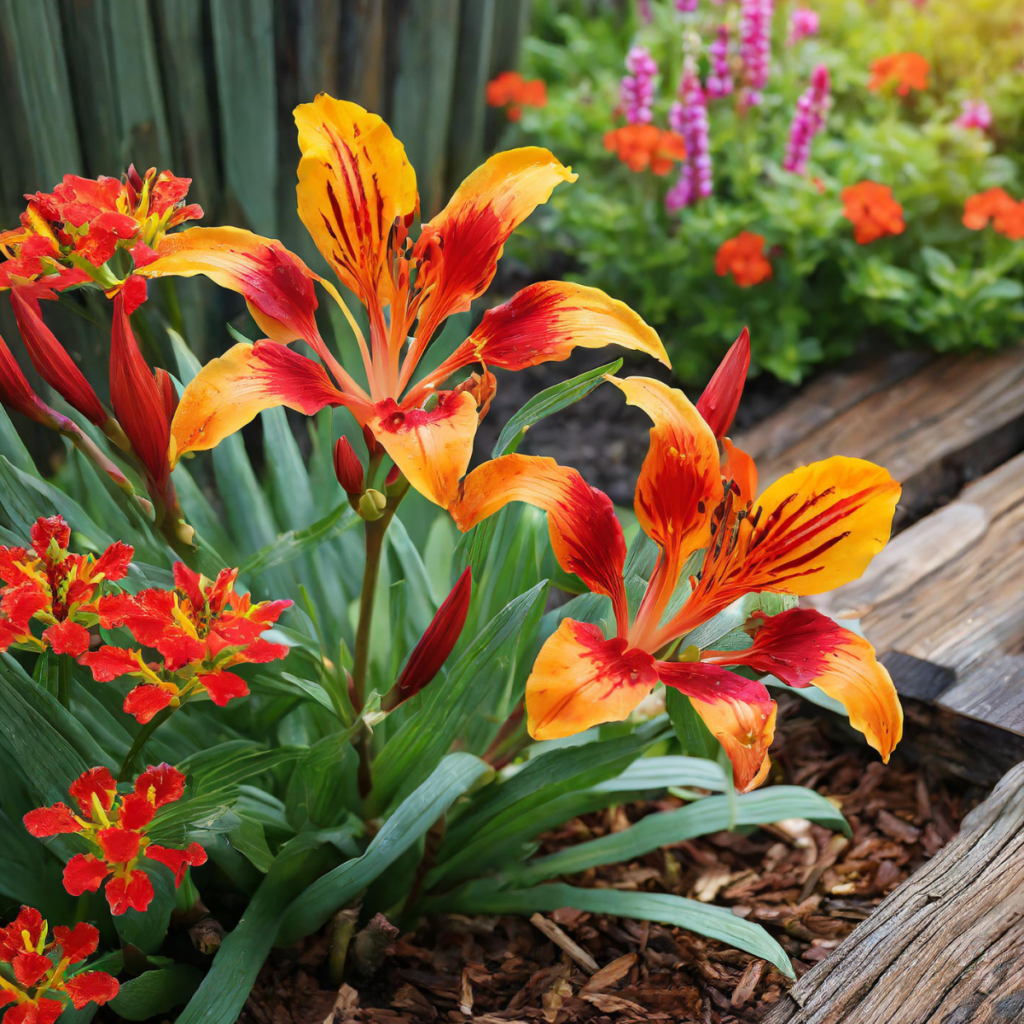
- Lilies and Alliums: 8-10 inches
- Irises and Gladioli: 4 inches
These specifics are crucial as they cater to the unique root and growth patterns of each bulb type, ensuring they have adequate room to thrive without overcrowding.
3. Orientation Matters: Check Your Bulbs
Always place the bulb with the pointy end up and roots down. If it’s tricky to tell, planting the bulb sideways will suffice—as nature ingeniously allows the bulb to reorient itself over time.
4. Spatial Planning: Spacing Between Bulbs
Provide each bulb its own space, ideally spacing them as far apart as the recommended planting depth. This spacing prevents competition for nutrients and allows for individual growth, leading to a healthier bloom.
5. Soil and Fertilization: Preparing the Bed
Loosen the soil at the base of each planting hole and mix in some compost or bulb-specific fertilizer to nourish the bulbs. This preparation ensures your bulbs have everything they need from the get-go.
6. Mulching: The Protector
A 2-3 inch layer of mulch post-planting helps retain soil moisture, stabilizes temperature, and prevents weeds. Mulching is like tucking your bulbs in for the upcoming winter, offering them protection against chill and critter.
7. Timely Endeavors: When to Plant
- Spring Bloomers: Plant in the fall before the ground freezes.
- Summer Bloomers: Plant in late spring, after the last frost to avoid cold damage.
Adjust your planting schedule based on your local climate and hardiness zone—earlier in colder areas and later in warmer ones.
8. Watering: The Initial Toast
Water freshly planted bulbs generously to settle the soil around them and kickstart root development. However, ensure the soil is well-draining to avoid soggy conditions that can lead to bulb rot.
9. Keeping Track: Labeling
Label your planting areas or maintain a garden map to track where each bulb type is planted. This organization prevents disturbances during dormant periods and guides future planting.
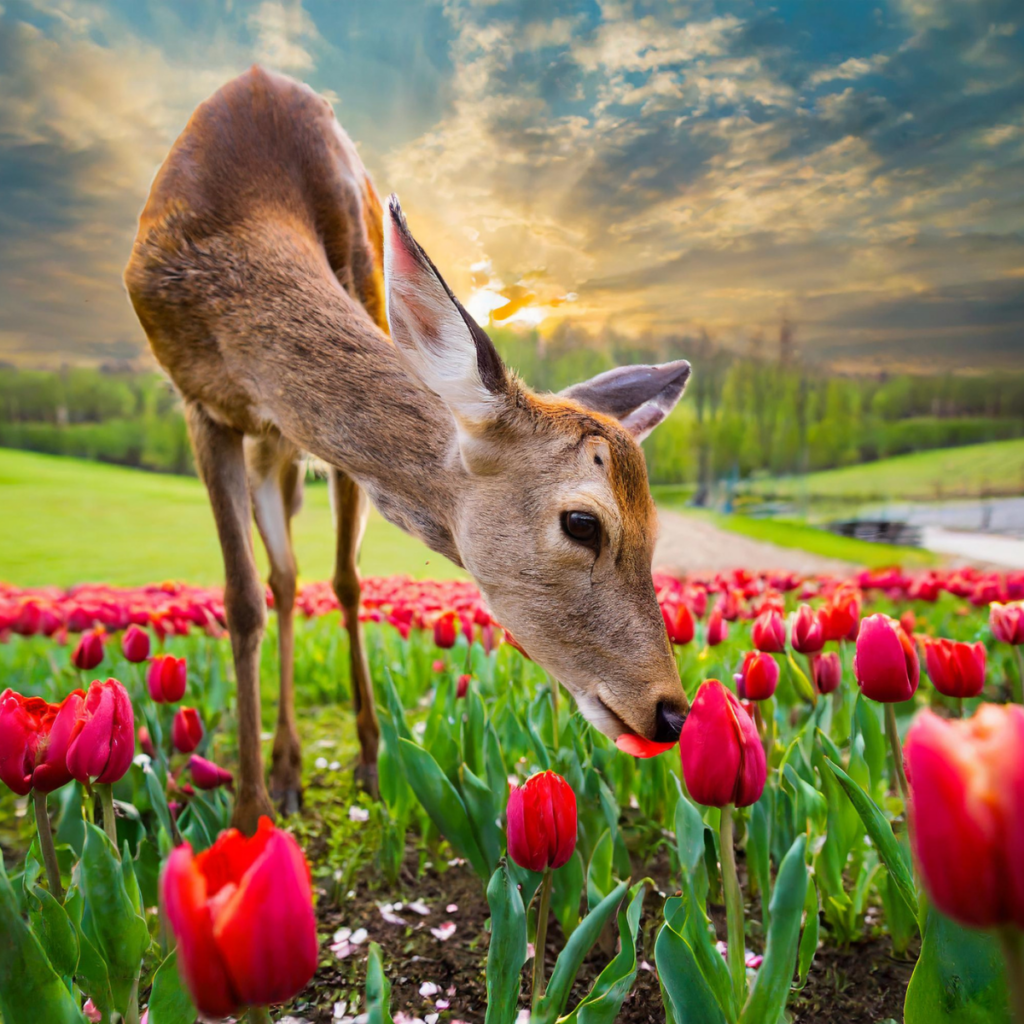
10. Wildlife Woes: Guard Your Garden
If your garden is prone to visits from hungry rodents or deer, choose resistant bulb varieties like daffodils and alliums, or employ physical barriers and repellents to protect your blooms.
11. Layering Bulbs: Lasagna Planting
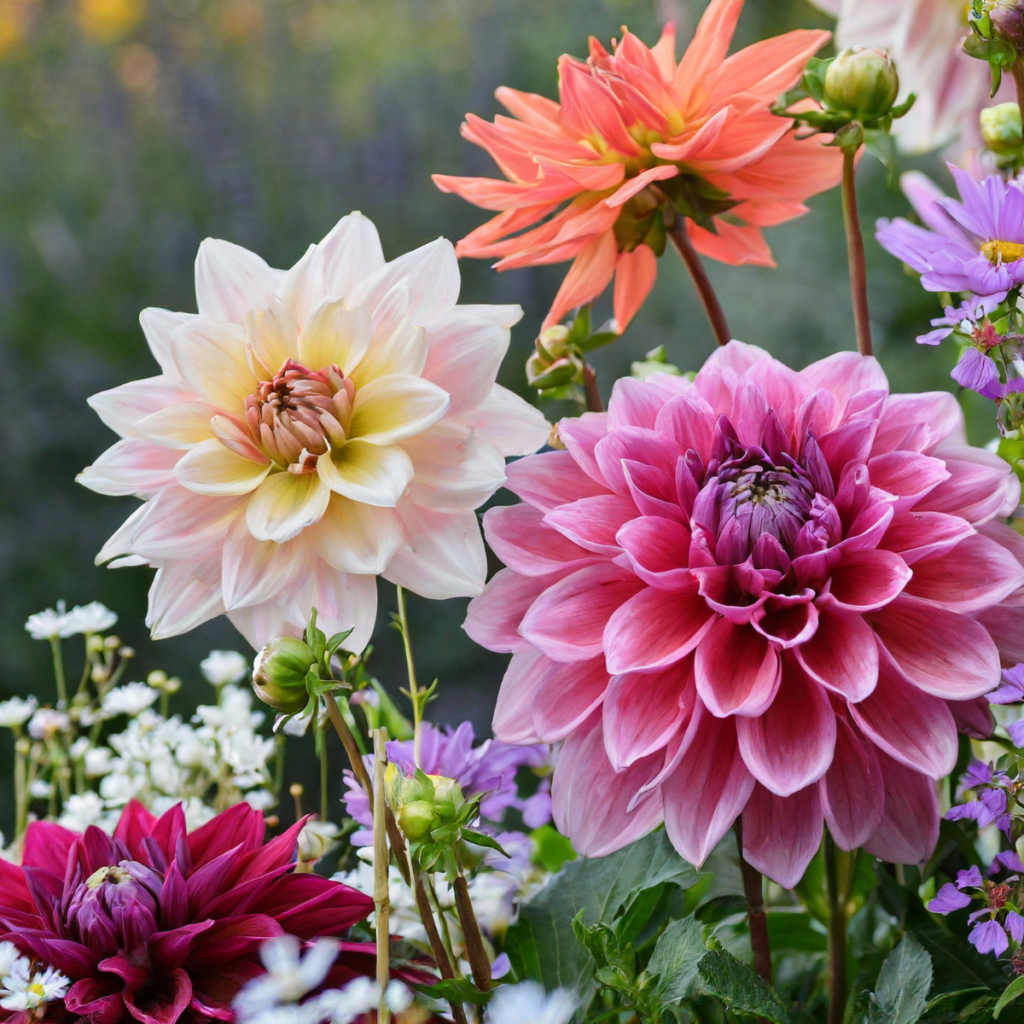
For a continuous display of color, plant bulbs in layers—what we affectionately call ‘Lasagna Planting’. Place larger, later-blooming bulbs deeper and layer upward with smaller, earlier-blooming types. This technique ensures a staggered and prolonged flowering period, adding depth and intrigue to your garden.
By following these detailed yet straightforward guidelines, your garden will not only thrive but also become a beacon of beauty in your landscape, enchanting onlookers and nurturing pollinators. So, grab your gardening gloves and let the earth be your canvas, crafting a masterpiece with bulbs as your paint and patience as your brush.
Before you go!
11 Flowers that Look Like Hydrangeas For Your Spring Garden
12 Different Flowers That Look Like Daisies
Growing Chocolate Cosmos: A Sweet Journey in Your Garden
12 Pollinator Flowers to Attract Honey Bees to Your Garden