
How to Propagate Elephant Ears: 7 Easy Steps

This post follows our research editorial guidelines.
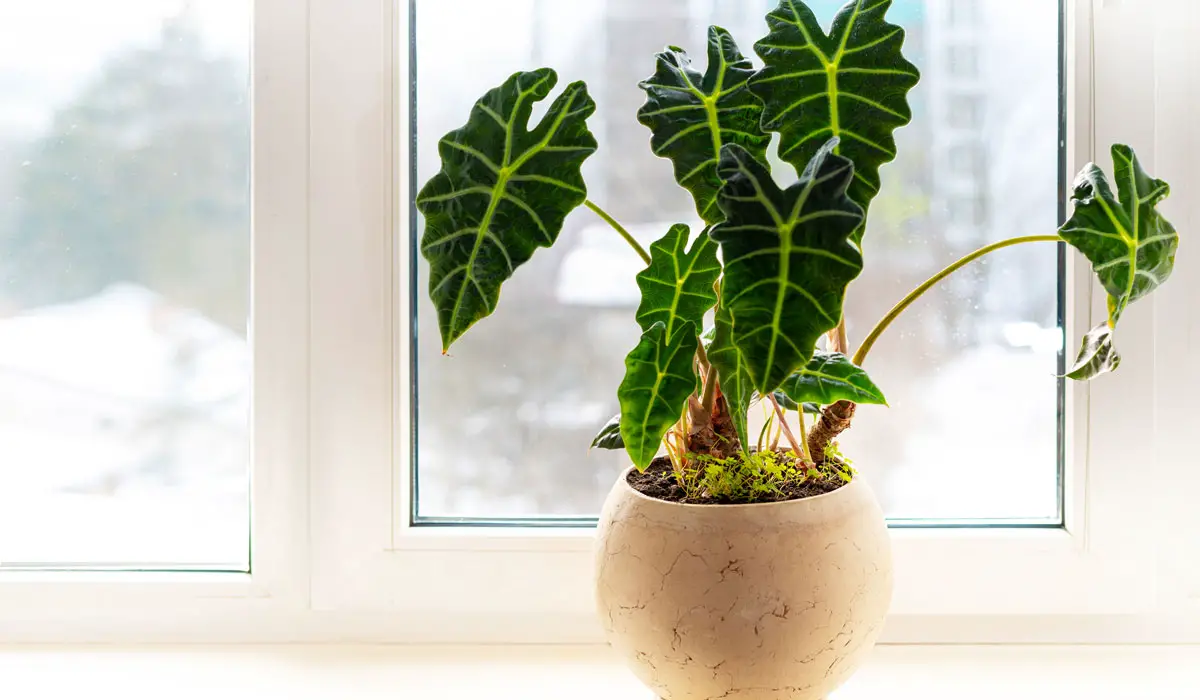
Elephant ears can grow pretty large. In fact, some elephant ear leaves can grow up to a foot long (though they can grow up to 3 feet long in the wild!) If you planted elephant ears in your garden, dividing and propagating your elephant ears is a great way to prevent overcrowding.

When plants are overcrowded in a small space, such as a garden, it makes it difficult for them to get the sunlight and nutrients they need to grow successfully. Instead, your plants will just end up competing with one another just to survive. And that can end badly (trust me!)
Quickly Find Propagation Steps
Because of how much maintenance elephant ears require, you want to make the growing process as easy as possible. This is where propagating them comes in. Propagation is the process of cutting off parts of your elephant ears and growing them in a new location to develop new, healthy and thriving plants.
Propagating any plant can be intimidating at first, but trust me, if I can do it, so can you. Below, we go over 7 easy steps to propagate your elephant ears.
How to Propagate Elephant Ears
Propagating an elephant ear plant is easy, but it does take a slightly different method from other plants you may have propagated before.
The big reason why is that elephant ears prefer to grow in soil. So, while traditional methods of propagating do often include the sole use of water, your elephant ear plant will prefer a different approach. This usually involves digging up and dividing the plant’s tubers.
Elephant ears growing outdoors typically tend to go dormant during the winter season because they can’t handle temperatures below 40 degrees F. As such, the best time to propagate your elephant ears is to dig up the tubers during the fall, right before the leaves start dying off.
After you dig up the plant, separate the tubers from the parent plant to decrease the amount of stress the plant endures. Choose only the ones that don’t have any blemishes on them. If they have roots, they’re a good choice for propagation.
To untangle the tuber’s roots from the parent plant’s roots, use a sharp knife or pruning shears to cut through where they intersect. Just make sure that your knife or shears are cleaned off first to prevent disease transmission.
Add your new tubers to a new pot with well-draining soil and make sure the pointy side of the tuber is facing up. According to Barbara H. Smith, an HGIC Horticulture Extension Agent from Clemson University, elephant ear tubers should be stored in a large container that is “..at least 18 inches wide and deep or larger,” so it doesn’t tip over as it grows. Store them in a cool but sunny place until spring, keeping the temperatures between 50-60- degrees F.
Is Elephant Ear Propagation Easy?
Yes, elephant ear propagation is easy, regardless of the type of elephant ear you’re eager to propagate. Though it does involve quite a few steps, once you dig up the plant’s tubers either from your indoor pot or your outdoor garden, the process requires just as much care as your parent plant.
Here are 7 steps to propagating your elephant ear plant:
1. Remove the Plant
The first step to propagating your elephant ear plant is to remove the plant from its spot, whether in a pot or location in your garden.
If you’re removing a plant from a pot, you’ll first want to make sure that there aren’t any roots growing through your pot’s drainage holes. Otherwise, you’ll just end up damaging the roots when you go to pull the plant up.
This may require you to either untangle the roots or if the pot is plastic, for example, and able to be cut, cut the actual pot to get them loose. Just pulling up the plant before checking on the roots may actually kill your plant, so don’t forget this step.
Once you get the roots free, shake the plant to get off any excess soil. The more soil you leave on, the more difficult it’ll be to identify the tubers.
2. Wash Your Gardening Tools
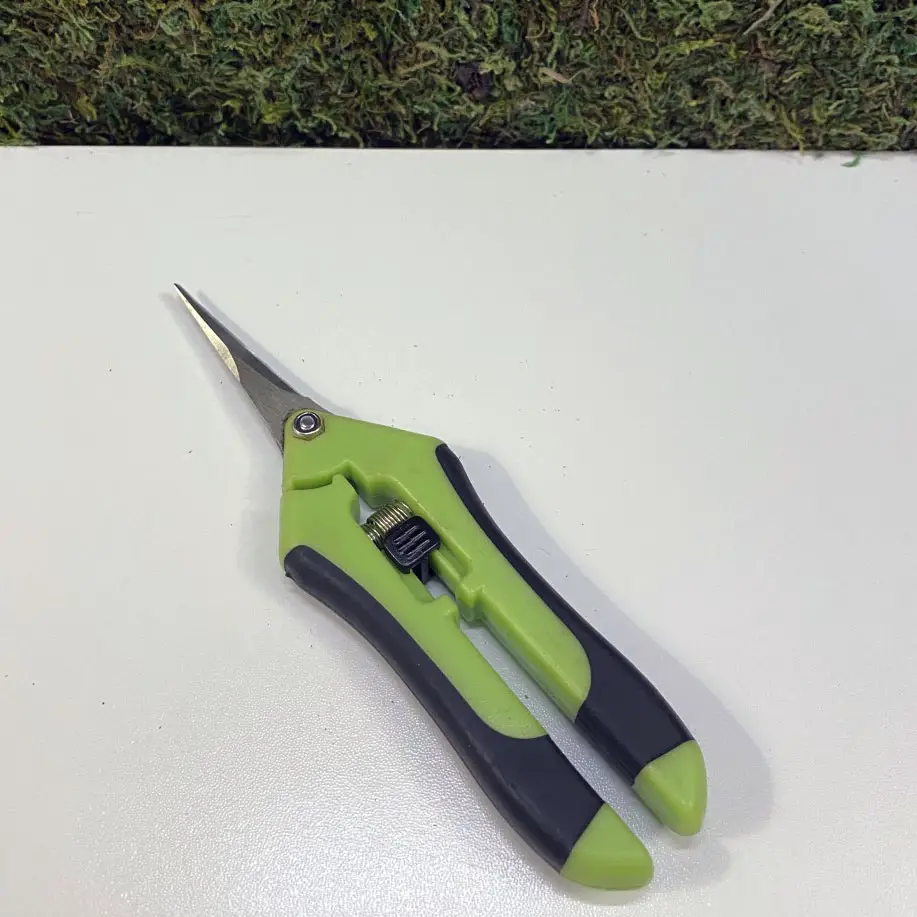
Before you divide your plant, as indicated in Step 3 below, you’ll first want to wash and properly disinfect your pruning shears or knife, depending on what you choose to use.
By disinfecting your tools, you’ll lower the risk of transferring disease to the parent plant and the new tubers you plan to propagate. Or, from the parent plant to your tubers. Elephant ears can easily get infected with mealybugs, root maggots, and aphids.
So, if your cutting shears worked on a plant that had any of these infestations, you can easily transfer them to your new plant if they weren’t cleaned beforehand. It’s recommended that you use bleach to kill off any potential disease.
3. Divide the Elephant Ear Plant
The next step is to divide the elephant ear plant. There are two ways to go about this. First, identify tubers that have a lot of roots and carefully cut that off from the parent plant (aka your main plant).
Here, you should see the main tuber (or bulb) and then smaller tubers sprouting out from it. These are what you’ll use to propagate your elephant ears.
You should only do this, though, if your elephant ear plant is healthy enough to withstand this separation process. If your leaves are yellow, this may not be the best time to do it.
4. Replant the Tubers
Once you have your tubers separated, it’s time to replant them. When doing so, there are a few things you should keep in mind. For example, as mentioned above, get a pot that is at least 18” wide and deep to prevent your pot from spilling over once the elephant leaves start to grow.
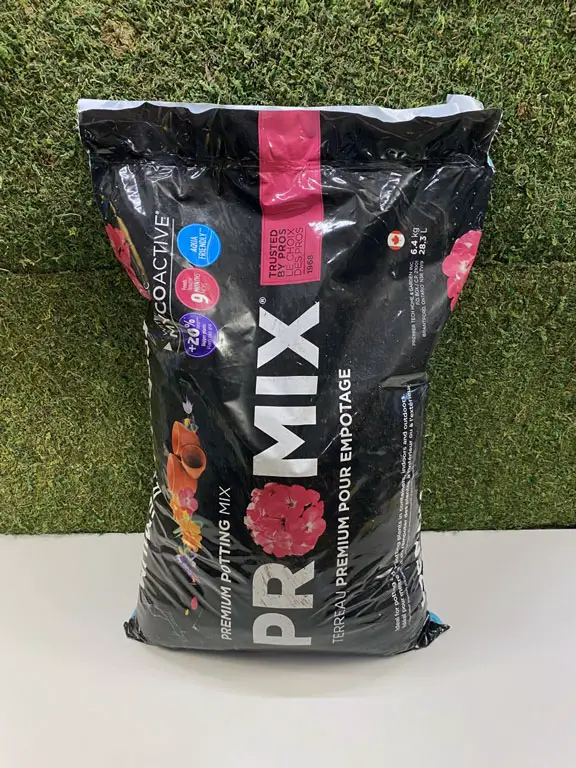
This step is very important, especially considering how heavy these leaves can get, even when they’re first starting out. In addition to a larger pot, you should invest in soil that is both well-draining and high in organic matter. This is the best type of soil to grow elephant ears in.
If you aren’t sure your soil is well-draining enough, you can add a little bit of coarse sand or rocks to it to ensure that adequate water will be able to get through.
Once you’ve planted your new plant, put the parent plant back to where it was, along with some fresh potting soil.
5. Pick the Right Location and Water Them
Congrats! You’ve officially propagated your elephant ears. I told you it was easy!
But now comes the maintenance part, which if you already grew the mother plant, will be a piece of cake. Once you’ve repotted your tubers, be sure to place the pot in a semi-sunny location.
Elephant ears can grow in both sunny and partially shady areas, so don’t worry if it doesn’t get a ton of sunlight. However, you should ensure that they’re growing in the right conditions in terms of temperature.
Elephant ear tubers that are growing inside should be kept around 60 degrees F.
6. Keep Soil Moist Using A Well-Draining Pot
The one thing you should be hyper-focused on is keeping your plant’s soil wet. Water your freshly potted elephant ears every day for the first week or two. If the soil is dry, then add a little bit of water.
As long as you are using well-draining soil, overwatering your new elephant ears shouldn’t be a concern. Just remember to water the soil at the base of the plant, not the leaves. With proper care, you should have a fully formed elephant ear plant within a few months.
7. Plant Your New Propagated Elephant Ears
Now comes the exciting part! Planting your new propagated elephant ears. If you propagated multiple elephant ears at once, be mindful of how you plant them outside. These plants are BIG, so you’ll want to space your tubers at least 3 feet apart from one another, if not more.
As we briefly mentioned in an earlier paragraph, overcrowding can make it impossible for your elephant ear plants to survive. Grab a measuring stick and make sure you’re leaving enough room when you plant them in your garden.
Once they’re planted, follow the steps you did for the parent plant. Feel the soil daily and if the first couple of inches feels dry to the touch, add some water.
FAQ
What is the Best Soil to Use for New Elephant Ear Plants?
The best kind of soil to use for new elephant ear plants is a mix of compost and standard organic potting mix. This is because elephant ears thrive in soil that has a lot of organic matter.
You can easily make your own compost by adding in kitchen scraps such as leftover coffee and eggshells, as well as other types of organic matter such as leaves and yard clippings. Generally speaking, your compost pile should be ready to use in about two weeks.
In terms of organic potting soil, you can find this at any garden retailer or online. Just keep in mind that you’ll want to ensure that your potting soil is well-draining. Elephant ears love water and to prevent root disease from overwatering, you’ll want to make sure your soil can easily drain.
How Often Should Newly Propagated Elephant Ear Plants be Watered?
In the first week or two, your new elephant ears should be watered every day. Once this timeframe has passed, you’ll have to touch the soil to determine if it needs water.
Generally, you’ll want to give your elephant ears between 2 and 3 inches of water per week, however, it may be a little bit more than that if the soil is dry. Remember, watering your elephant ears in the afternoon will make the soil dry up faster, so you’ll have to water it more. Due to this heavy need for water Elephant ears will show signs of dehydration by drooping leaves.
The unfortunate side effect of this is that, unless you have well-draining soil, you may end up overwatering the plant. Water first thing in the morning when temperatures, both inside and outside, are still cool.
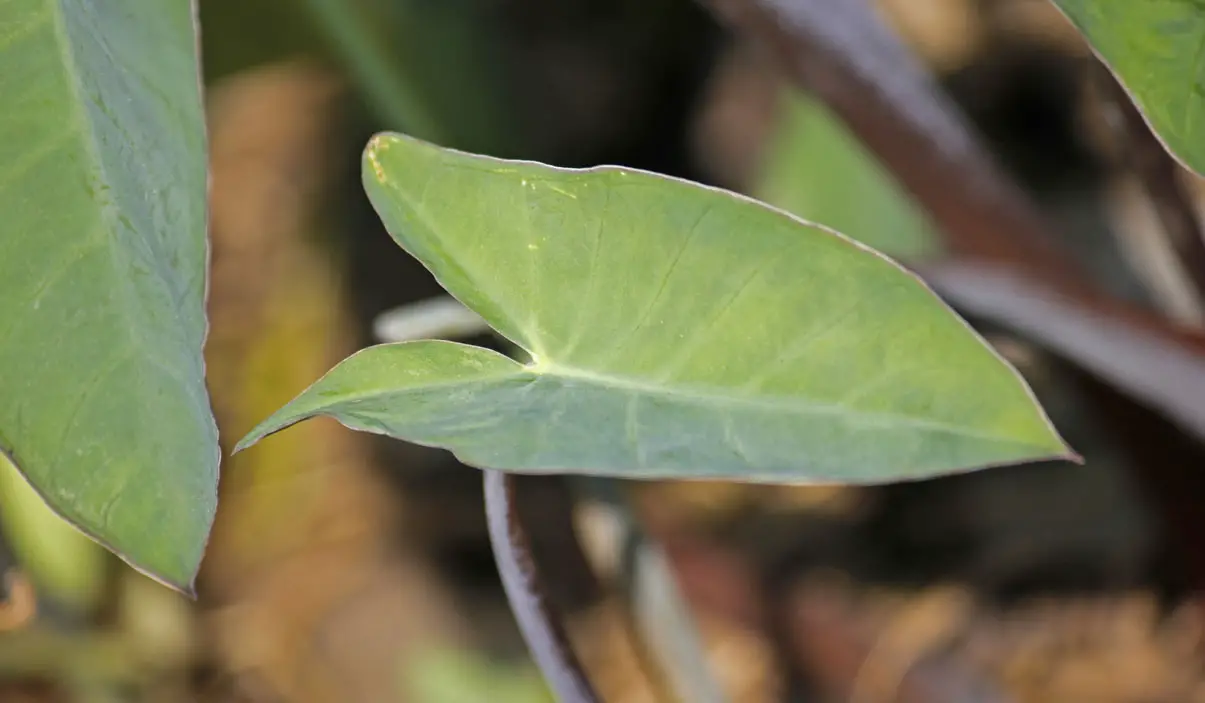
Can You Propagate New Plants from Leaves?
There are several methods for propagating new plants, with one of the most common being through the use of water. However, as outlined above, this is not the recommended method for elephant ears.
But that doesn’t mean you can’t necessarily find success propagating elephant ears using this method, albeit with a few caveats. If you want to propagate a new elephant ear plant from just the leaf-cutting, you can do so by adding the leaf to a pot filled with soil. With regular watering, the leaf (when placed with the cut end touching the soil), will start to sprout roots in a few months.
Because elephant ears have a history of growing in watery, marsh-like areas, it is possible to still use this method with only water, but keep in mind that it’ll take a lot longer. Keep the leaves wet and in a sunny spot and you should see roots form in a few months.
Final Thoughts
Propagating elephant ears is an easy way to make sure they don’t die off during the winter season, so you can enjoy them all year round.
Though propagating your elephant ears may seem intimidating at first, these steps make it easy.