
Hydroponic Deep Water Culture? Get Growing in 10 Easy Steps

This post follows our research editorial guidelines.
Have you been considering growing hydroponic plants at home? If you’re like me, then you want to find out the easiest way to do it. One popular way to grow hydroponic plants at home is through a method called deep water culture, or DWC.
A deep water culture eliminates the need for soil and is generally known as being the easiest method to grow plants hydroponically. Plants are suspended in nutrient-rich water, meaning they’re constantly getting both water and oxygen needed to grow.
One of the reasons why I started growing hydroponic plants is because I had a tendency to forget to water my plants. With this system, you won’t have to worry about that.
Using a deep water culture system looks intimidating at first, but it’s quite easy once you get started. If you want to grow fresh herbs or fresh fruit and veggies but don’t want to mess them up by forgetting to water them (like me), then growing them with a deep-water culture is an excellent option.
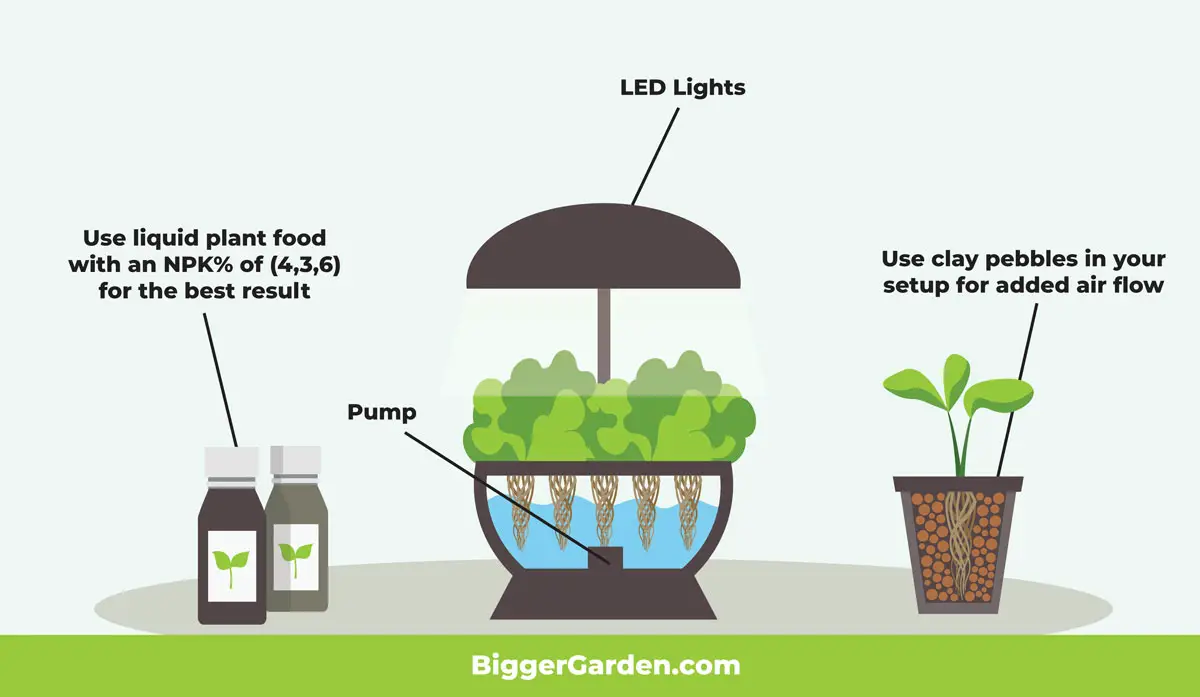
Table of Contents
What is Deep Water Culture? (DWC) Hydroponic System and How Does It Work?
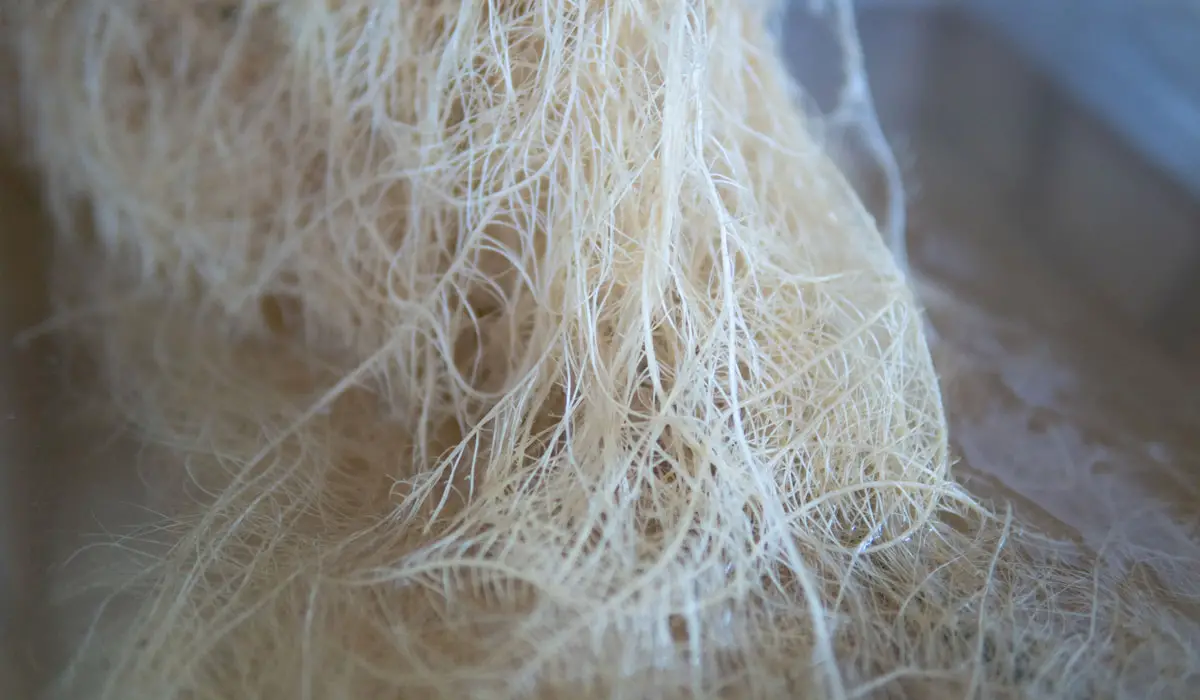
Deep water culture is a form of a hydroponic system designed to grow plants without the need to plant them in the dirt. How it works is that the roots are placed in a net with clay pebbles and then submerged into a water-based solution that has nutrients infused into it.
Oxygen is then pumped into the water to ensure that there is a proper amount of air making its way to the roots to help the plant grow properly. It is a great way to learn how to grow plants hydroponically if you’ve never done it before.
Deep Water Culture? (DWC) Benefits
Deep water culture is a great way to get introduced to the world of hydroponics. While growing plants with this method is easy, it does take a little practice and time to get used to, especially considering it’s so different from how many of us have grown and nurtured plants before.
Overall, a deep water culture is a very user-friendly system that you can set up at home. Besides its user-friendliness, there are a few other benefits to using a deep water culture that we want to mention below.
Easy to Set Up and Maintain
These kinds of systems are fairly simple to set up and maintain, which is good news for first-time hydroponic plant growers. There are very few moving parts to it, making it easy to operate.
Generally speaking, you should only need a net pot, bucket, air pump, air stone, and some tubing. This is part of the reason why this is a great way to get introduced to growing plants using hydroponic techniques – it doesn’t require a ton of stuff!
Some plant owners may choose to invest in additional items such as a pH testing kit to measure the water’s acidity and a timer, but that is left up to each person’s discretion.
Accelerated Plant Growth
Another great benefit of using deep water culture is the accelerated growth of a plant that comes with this process. It has a superior amount of nutrient and oxygen intake when compared to growing in soil, which means that your plants have the proper conditions to flourish.
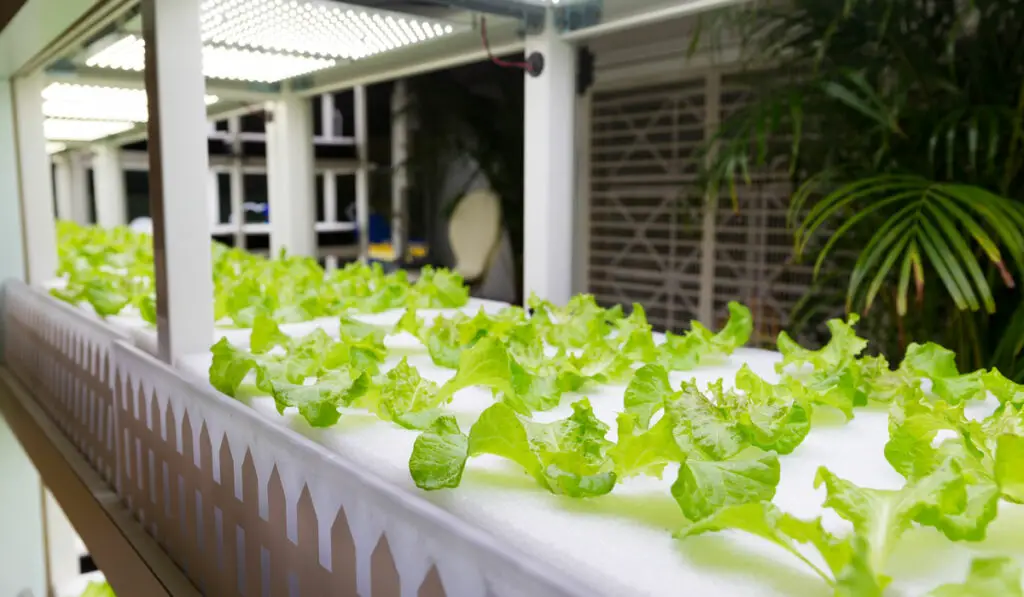
Plants can grow at a faster rate than normal. For example, while it would normally take lettuce about 60 days to grow in soil, you can grow lettuce and have it ready to harvest in about 30 days. That’s half the time!
This is because a deep water culture makes it easier for plants to get the oxygen and nutrients they need compared to having to solely obtain them through their roots. Furthermore, hydroponic plants are ultimately spending less time searching for and developing new roots, meaning that they get to channel that energy into faster vegetation.
No Need for Fertilizer
You normally have to give your plant fertilizer to provide it with the nutrients it needs to grow and be healthy.
Deep water culture, however, removes the need for fertilizer. Since the nutrients are in the water-based solution and they’re being submerged directly to the root of the plant, fertilizer becomes unnecessary in the process. It becomes one less thing you need to worry about.
Improved Aeration
One of the great benefits of using a deep water culture is that there is oxygen constantly being pumped right into the root of the plant. This is great because it increases the rate of absorption, which makes it easier for the plant to take on nutrients.
The other added benefit to this is that it promotes cell growth. This means that your plants can grow to be bigger and healthier.
The Cost is Minimal
One of the reasons why deep water culture is recommended to people who want to get into hydroponic plant growth is that it has a minimal startup cost as well as a small cost to maintain the system.
Not only that, but once you get the hang of the basics, it becomes very easy to scale your operation up with little extra cost attached to it. If you’re looking for a cost-effective way to use hydroponics in growing your plants, this is the way to go.
How to Set Up a Deep Water Culture (DWC) Hydroponic System
Before you start setting up your deep water culture hydroponic system, there are a few things you’ll need to get first:
- Net pots ($1-2 each)
- Air pump ($5-12 each)
- Air stone or bubbler ($5 each)
- A container or tank (I use storage bin totes since their easy to fit your setup $5-$8 each)
- Nutrients (Liquid fertilizer with an even % of NPK $5-12 each)
- Growing medium (Clay pebbles $5 per 12 plants)
- Seeds (Free-$2)
- Timer ($5 each)
- pH testing kit (optional $12 each)
While it may seem like a lot of supplies are needed when growing soilless the cost sits around $31 on the low end, and up to $63 on the high end. Once you have these items, it’s time to start setting up your deep water culture system.
1. Find the Right Location
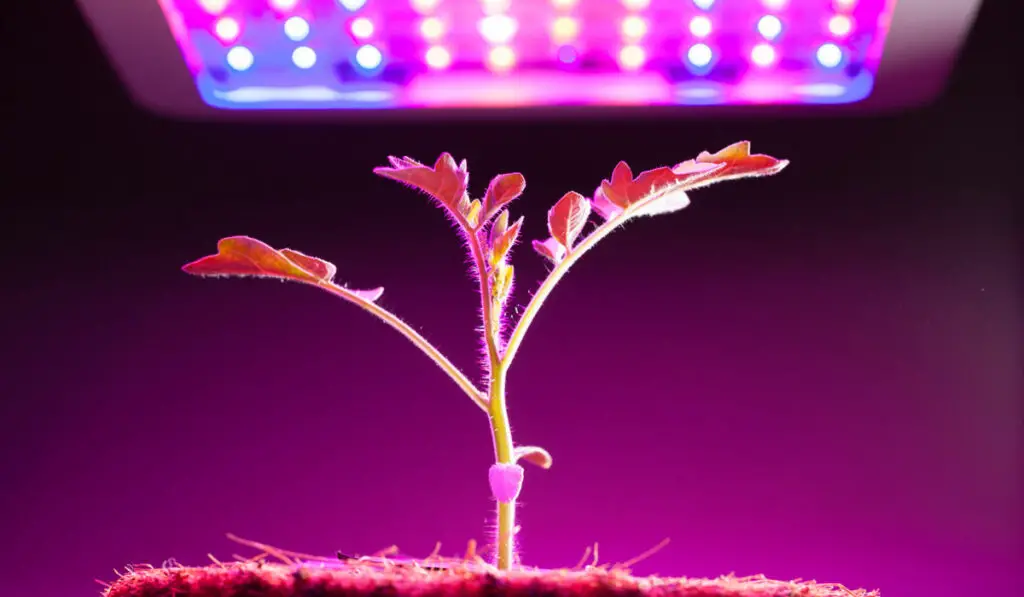
First, you need to make sure that you’re setting up your deep water culture system in the right location. You need to make sure that your setup is in a warm spot that gets plenty of light. An indoor room near a window is probably best.
That way, you’re getting a proper amount of light while also being able to control the temperature of the room. The colder and darker it is, the less vegetation you’ll have.
2. Setup the Grow Beds
Your grow beds are going to be where your plants sit once the rest of the system is set up. You should make sure that they’re watertight and sturdy enough to hold the plants in place.
You also want to cut holes for the plants and the airstones. You should leave at least 1 inch between each hole to ensure that the oxygen bubbles can flow through evenly so the roots get some air.
3. Setting Up the Nutrient Tank
The nutrient tank is where your plants are going to get their nutrients. You want a tank that’s no taller than 7 inches. You want to make sure that there are no more than 3 inches between the bottom of the growing medium and the top of the water.
From there, add water to the tank. Be sure to check the pH level beforehand to make sure that it’s between 6.5 and 7.0. Also, if you’re using tap water, let it sit overnight before adding it to the tank to allow any chlorine in the water to dissipate.
4. Add the Nutrients
Now to add the good stuff. These nutrients are what your plant needs to grow. Just having water won’t help your plant grow at all.
There are different nutrient formulas on the market that are geared toward different kinds of plants. Be sure to pick the one that works best for your plant and add it to the water to create a nutrient solution for it to feed on.
5. Install Your Air System
This next part is crucial. Installing an air stone and air pump will make sure that the roots of your plant are getting the oxygen they need to promote healthy cell growth.
Place your air stones at the bottom of the tank and in the corners. Once you have this setup, run your air pump for about an hour. This is a great way to make sure everything is working properly. You can also check to make sure there are no leaks in the pump that can cause an issue.
6. Add Your Airstone Tubes
Run these through the holes you cut in the container and drop them in the water so they sit on top. Make sure they’re 4 inches above where your growing medium will be.
7. Install Your Water Pump and Filter
This is what’s going to allow your nutrient-infused water to circulate through your system and provide for your plants. The filter will help keep the tank clean in the process.
Make sure that the pump you get is powerful enough to handle the tank you’re putting it into. The bigger the tank, the more power you’ll need to pump and filter the water.
8. Set Up Your Timer (If You’re Using One)
If you have decided that you don’t want to handle everything manually and put your entire system on a timer, now is the time to set it up. You want to set your timer near your tank and plug everything into it.
This allows you to run the system at specific intervals at certain times without having to manually handle everything and run the possibility of over or under-watering your plants.
9. Add Your Plants
Add your plants or seeds into the net pots or grow beds with your growing medium. From here, you lower them on top of the water pump.
Attach the air hose from the air pump to your air stone and place it at the bottom of the grow bed to make sure that air bubbles are rising to the top and getting to your plants’ roots.
10. Start It Up
Plug in your pump and let it run for a few minutes. Once it has a chance to get acclimated, congratulations, you’re ready to use your deep water culture system.
Deep Water Culture (DWC) Drawbacks
As great and easy of a system as the deep water culture is, there are a handful of drawbacks you need to consider.
For one thing, because of the nature of this system, the pH levels can fluctuate wildly. This can be combated by taking measures to regulate the pH levels, but they still should be monitored regularly to ensure that they stay at a certain level.
Another major issue relates to the pump. If you have a pump failure or a power outage, it can cause issues with your plants. They can drown in the low-oxygen nutrient solution over time if air flow has stopped.
This also means that you have a very small window to replace or fix your air pump in case there’s an issue. You can always invest in a backup in case it breaks, but in the event of a power outage, unfortunately, you don’t really have any other options and, as such, are at the mercy of your power being turned back on.
Done for you Nutrient Film Technique Hydroponics Kits
If you’ve read enough and are ready to make your Nutrient Film Technique hydroponic kit, there are a ton of options available to you, including:
AeroGarden
Available on Amazon for around $100-$150, the AeroGarden kit comes with herb seeds you can use to grow up to six plants simultaneously. Best of all, it has automatic reminders built in so you can always remember to water your plant.
Click here to buy it online.
Iharvest
Designed for the serious plant grower, the Iharvest will cost you a good penny – close to $1,000 in fact. Right now, it has models available online for $899.
What’s great about the Iharvest is that you can grow up to 30 healthy plants at once, all of which are up to 50% bigger than other options on the market.
With this, all of the plants grow vertically, as well as three times faster than traditional growth methods. You can easily grow larger fruits such as tomatoes and eggplant, as well as fresh herbs and more. If you are looking for a sustainable option moving forward, this one is it.
Click here to buy it online.
Gardyn
This hydroponic growing system comes in two options: the Gardyn 2.0 and Garden 3.0, both of which will set you back anywhere between $649-$999.
Like the Iharvest, these vertical gardens allow you to grow batches of plants – up to 30 simultaneously. One really cool thing about the Gardyn compared to others is that, with the help of Kelby, you’ll know when it’s time to trim your leaves and water your plants. This system combines fresh food and smart technology to offer you a seamless, unique growing system you won’t find elsewhere.
Click here to buy it online.
Which is Better: Deep Water Culture (DWC) or Nutrient Film Technique (NFT)? And Why Could DWC be Better for Your Growing Needs?
Because deep water cultures are more user-friendly, they tend to be better for first-time users. As mentioned above, the DWC process involves suspending a plant’s roots in an oxygen-rich solution of water and nutrients instead of soil.
A Nutrient Film Technique (NFT), on the other hand, is when nutrients are pushed through a tube and pumped from the reservoir and then through the rest of the system, essentially being continually recirculated.
According to Valentina Lagomarsino, a Ph.D. student in the study of Biological Biomedical Sciences at Harvard University, the “nutrient film hydroponic technique is the most common hydroponic system used today.” However, is it for you? That’s the big question.
Valentina Lagomarsino
The main difference between them, aside from the methods they use to yield vegetation, is really the output of the vegetation itself. The NFT technique tends to yield better results, but it requires a lot more attentiveness.
A DWC, on the other hand, is much less work and leaves a larger margin for error, so it works out better if you’re just starting out.
Both are good techniques, but a DWC is better for your growing needs if you’re still getting used to growing hydroponic plants or don’t want to invest in a lot of maintenance to grow your plants.
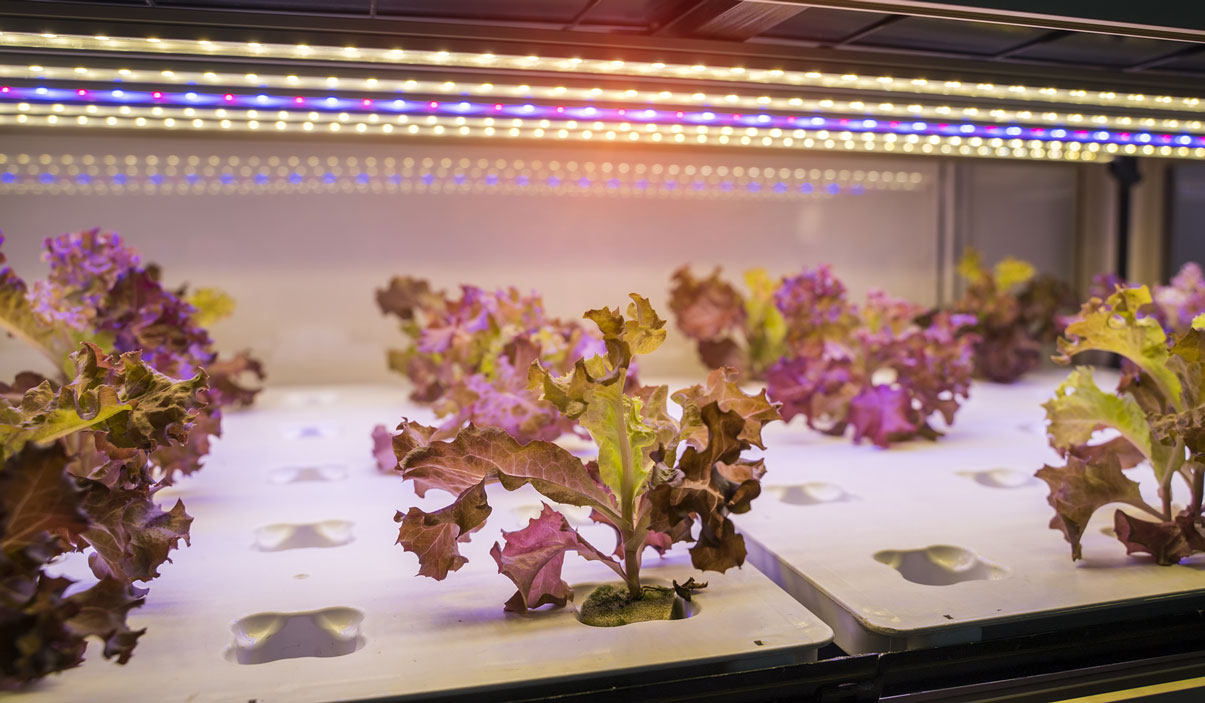
What Grows Best in Deep Water Culture?
Generally speaking, plants that are both small and lightweight will grow best in a deep water culture. Because of how these plants are suspended, anything that’s too large or top-heavy runs the risk of falling over.
If you’re looking to utilize a deep water culture, we recommend growing:
- Lettuce
- Cabbage
- Kale
- Collard Greens
- Basil (and other fresh herbs)
It’s typically not recommended that you grow any type of plant that sprouts flowers. Deep water cultures are mainly suited for smaller vegetables and herbs.
Final Thoughts
These tips and products can make it easier for you to sustainably grow your own fresh food and herbs. While these methods can look intimidating, they’ll quickly become second nature.