
Elephant Ear Leaves Drooping? Find the Root and Fix This Problem

This post follows our research editorial guidelines.
Elephant ears – also known formally as Colocasia esculenta – are an easy way to bring the relaxation and beauty of the tropics to your living room. With leaves that grow up to a foot long, you may be wondering why all of a sudden, they’re starting to droop – and if so, if that’s necessarily a bad sign.
Take it from someone who owns this lush, tropical plant: droopy leaves are normal.
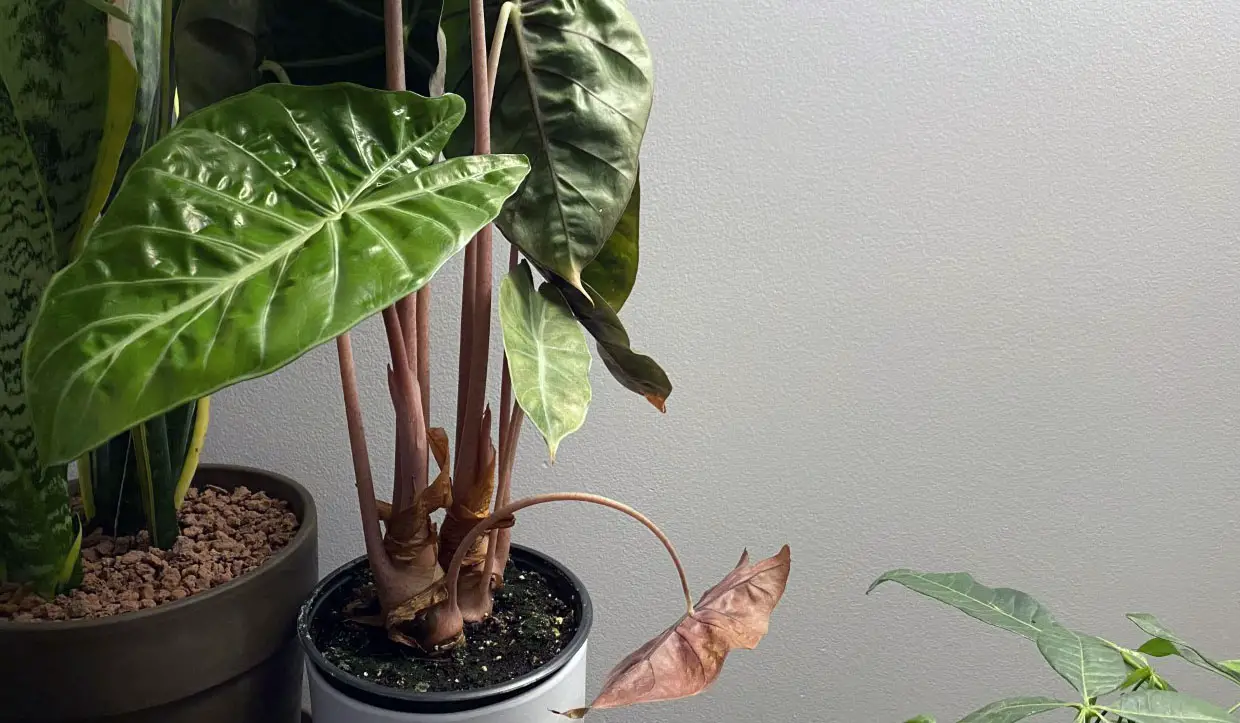
However, that doesn’t mean that drooping elephant ear leaves shouldn’t be taken as a warning sign. Droopy leaves, as you’ll read below, could be the result of many factors such as underwatering, temperature, and even their location either in your garden or inside your home.
If you want to take care of your elephant ear plant and have it last for years to come, here are a few different factors you should be aware of, as well as how to address the root of the problem (pun intended).
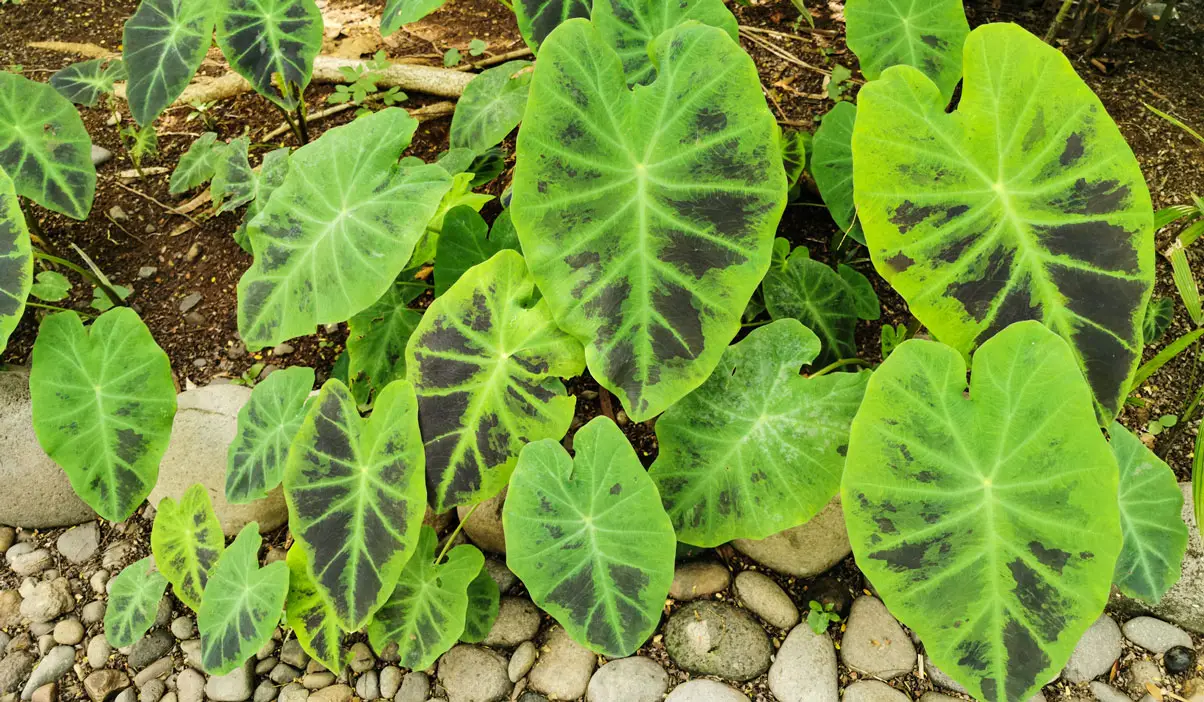
Table of Contents
Why Are My Elephant Ear Leaves Drooping?

Elephant ears droop for a variety of reasons, most commonly from a lack of water. Alternatively, your Colocasia could be suffering from poor lighting, nutrition, or humidity. If you’re a first-time elephant ear plant owner this may be a stressful sight. Don’t fret! There are solutions to all of these reasons.
While it’s normal for elephant ear leaves to droop as they age, common factors such as watering too infrequently and the plant’s position may also be a significant cause of drooping. Here are some of the most common reasons for drooping elephant ears (and what you can do to prevent it):
Not Enough Water
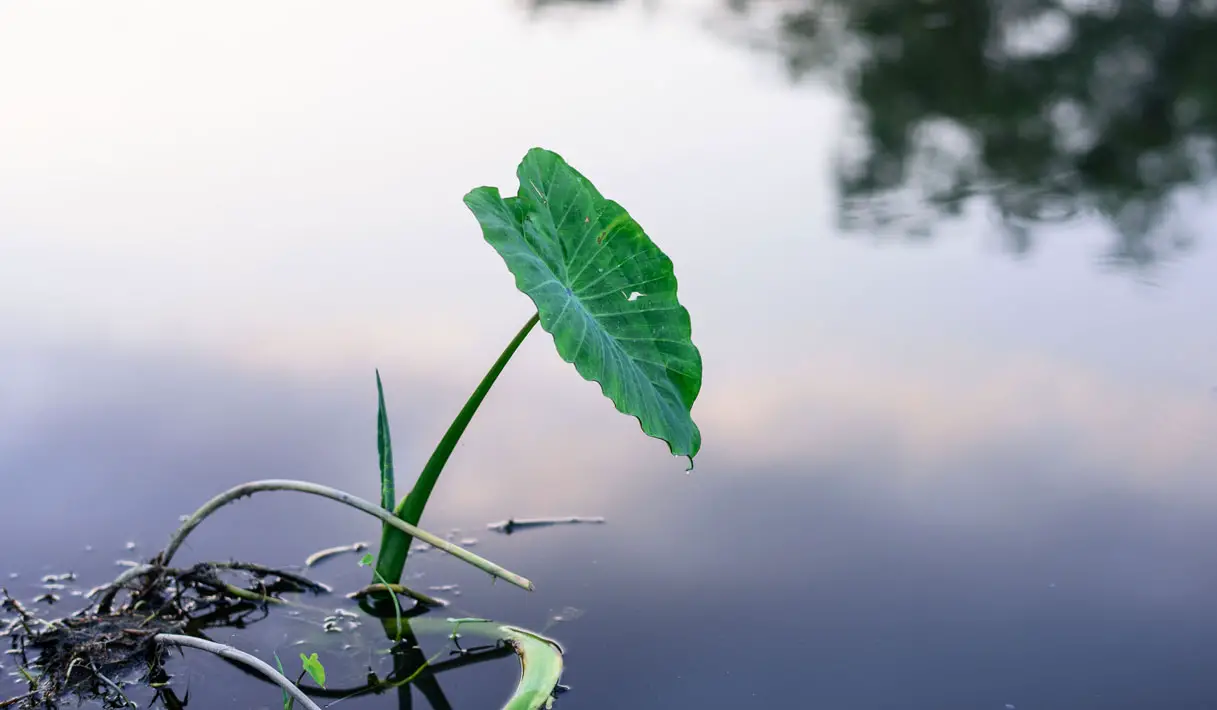
Elephant ears require a high-water intake – of up to three inches of water per week! They need a lot of upkeep in this department and if you miss a few watering sessions, this can eventually cause your elephant ear leaves to droop.
When it’s not raining, you need to make sure that you’re filling the gaps in between to keep your plant nice and healthy. Just keep the soil moist without going overboard and your plant should stay healthy.
Here’s how you can check that your elephant ear plant is getting enough water (and some other tips to make caring for your elephant ears easier):
- Check the soil daily and water your elephant ears every day for the first two weeks. Make sure the soil is drenched.
- Set time aside every morning to water the plant. If you wait until the middle of the day, the temperatures may be too hot and immediately dry out the plant’s soil.
- Consider the placement of your plant. If your plant is situated in a bright, sunny corner of the room, then make a plan to water it more often so the soil is always moist. Plants that are in the shade don’t require as much upkeep.
- Check the shade of your leaves. If the elephant ears are turning yellow, then the plant is being watered too often. Wait until the soil feels dry to the touch and try watering again.
- Change your watering habits during the winter. If your elephant ears are growing outside, then keep in mind that you won’t have to water them as much, since they tend to die out during the cold temperatures. But don’t worry – they’ll be back next spring!
Low Light
As with any plant, it’s important to make sure it has the proper amount of lighting it needs to survive. Elephant ear leaves like plenty of sunshine. If your plant is drooping or even yellowing, this could mean that it currently doesn’t have enough sunlight hitting it.
While direct sunlight will be too much for just about any plant, putting your plant in indirect sunlight should help it grow and stay healthy. Making adjustments like moving it to a new spot or trimming your tree branches to provide more sunlight can help out tremendously.
Here’s what you can do to check if your plant isn’t receiving enough light:
- Check to see if the leaf is drooping and look at where sunlight is hitting the plant. If the spot is too shady, there’s not enough light hitting your plant.
- Also, check for yellowing on the plant. This can also mean that your plant isn’t getting enough light.
- The best thing you can do is move your plant into indirect sunlight. If it’s necessary, trim any tree branches that can cause too much shade.
- Make sure your plant stays out of shade. Not only do they lose sunlight this way but shady areas can generate extra moisture that will also cause harm to your elephant leaves.
- Also keep your plant out of direct sunlight because that can be too much and also cause harm to your plant, such as burning those beautiful leaves.
- If you can, also rotate your pot to promote even growth among all of the leaves.
Temperature
As briefly mentioned above, elephant ears are a tropical plant, most commonly seen in tropical areas like Florida. However, this isn’t where these majestic plants originated. These plants are native to Southeast Asia and as such, have become accustomed to warmer temperatures.
Elephant ears prefer to grow in temperatures ranging between 70 and 86 degrees Fahrenheit. Ideally, the perfect temperature to grow elephant ears in shouldn’t be lower than 60 degrees. If they do grow in climates cooler than that, then they’ll need to be replanted every season.
Despite this temperature range, elephant ears thrive best when they receive partial sun and shade, but this tends to depend on the type of elephant ears. Elephant ears fall into four main categories: Caladium, Alocasia, Colocasia, and Xanthosoma.
Caladium hortulanum, for example, can thrive with no shade whatsoever, whereas Alocasia calidora, a type of hybrid plant, needs partial sun.
Here’s what you can do to ensure that your plant is at the proper temperature.
- During the day, elephant ears like temperatures between 70 and 85 degrees Fahrenheit. At night, anything above 60 degrees is fine.
- If the temperature gets cooler than that, consider keeping your plant indoors. This means you can control the temperature more and give it a more ideal way of growing.
- If you plan on keeping your plant outside and colder weather is coming in, you’ll need to prepare your plant for the harsh weather that’s coming. One easy method is to propagate your elephant ears for the winter.
- Do not just leave your elephant ears in cold weather. The plant does not do well in cold weather conditions and you’ll kill it if you leave it.
- Buy a humidifier. A humidifier can help ensure that your potted elephant ears are always exposed to the correct temperature. This can help prevent them from succumbing to the harsh winter weather.
Humidity
Because these are tropical plants, it’s important to make sure that your elephant ear leaves get plenty of humidity.
When it comes to humidity, the warmer the temperatures inside your home are, the better. Here are a few tips to ensure that your elephant ears are getting enough humidity, as well as what you can do if they’re not:
- Check the soil regularly. If the soil feels dry to the touch, be sure to water it. Check the soil levels every day. How does this tie into humidity? Because if your plant is getting too much humidity, it may dry up the soil.
- Mist the leaves. Watering the soil is important, but so is misting the leaves. This especially helps when they’re not getting enough humidity inside your home. The water on the leaves will create its own humidity, keeping the plant warm when it needs to be.
- Water regularly to combat high levels of humidity. Yes, your plant needs humidity to survive, but if it isn’t watered enough, too much humidity will kill it.
- Use a pebble tray. A pebble tray is used to prevent your elephant ears from getting too wet and instead, achieve the proper level of humidity.
Nutrition
Elephant ears thrive when planted in soil that is high in organic matter. Oftentimes, those with green thumbs will use a combination of organic-rich soil and compost, but you can find soil that has these nutrients at your local gardening center.
Nutrients are important to support healthy plant growth. Even though elephant ears can grow rather large on their own, nutrients can help grow even bigger, healthier leaves. Unfortunately, if your elephant ears aren’t getting enough nutrients, the leaves may start to droop.
Here’s how to ensure your elephant ears are getting enough nutrients (and what to look out for):
- Know your schedule. Elephant ears planted outdoors will go dormant during the winter, and as such, don’t need to be actively fertilized again until the springtime.
- Always water your elephant ears when you fertilize them. This will help protect them against fertilizer burn, which ultimately removes moisture from the plant. This will cause your leaves to droop.
- Only fertilize them once a month at the start of the growing season. Too much fertilizer will not only cause your leaves to droop and turn yellow, but it’ll kill your elephant ears. Start your fertilization routine in the spring and stop during the fall right before they go dormant.
- Dilute your fertilizer with water if you’re adding it to potted, indoor plants. Elephant ears growing indoors don’t have as much room as they would outside. As such, you want to adjust the amount of fertilizer you use for a smaller space. Use about 50% of water and 50% of fertilizer for potted elephant ears.
- If your leaves are yellow, bring them back with Epsom salt. This will revitalize it and work as a natural fertilizer. Pretty neat, right?
- If you can, use a slow-release fertilizer. This means the nutrients will be released slower and not destroy your plant by giving it too much at one time.
- Know the signs. Aside from drooping and yellowing leaves, keep in mind that your elephant ears need fertilizer if you notice leaves with stunted growth, have holes in them or look burned.
Issues in Your Soil
If your plant is drooping, there’s a chance that it could actually be an issue with the soil you’re using. As mentioned above, elephant ears like to grow in soil that is rich in organic matter.
Organic matter includes everything from hair to coffee grounds to eggshells and even manure. These items deliver energy to the soil, which ultimately provides better nutrients to your elephant ear plant.
Keep in mind that the same issues that appear with low nutrients, as mentioned above, occur in the soil, too. However, they also include the following:
- Stems that are wilting under the weight of the leaves
- Spots on the roots
- Stems that look discolored and leaves that look deformed
So how do you fix these common problems? Here are a few tips for treating elephant ears with soil issues:
- Add 10-10-10 fertilizers to your elephant ear plant once a day for every 10 days to help the drooping leaves get back to normal and grow
- Look for fertilizers that are high in nitrogen, iron, and zinc. If your elephant ears are drooping, it may be because they’re lacking fundamental nutrients such as these. Adding these nutrients should help bring them back to life.
- If your roots have spots on them, stop watering your elephant ears for a few days until the soil dries out. Oftentimes, this is a sign of the roots being waterlogged.
- Use well-draining soil. And, speaking of soil, be sure to use one that has sand or small rocks in it so that the roots don’t get oversaturated. Otherwise, this could easily lead to overwatering.
- If the stems are wilting, water your plant immediately. This is a big sign that your soil is too dry and underwatered.
- Always check your plant’s soil to determine if it needs watering. You can use the tip of your finger to check. Checking your plant’s soil regularly is the best way to offset these common problems.
Pests
Ah, pests. Unfortunately, elephant ears are easily infested with them. The most common pests you’ll deal with include spider mites, aphids, thrips, and mealybugs. Because these pests are so small, it’s hard to see them.
That’s why you should use the following tips to identify, prevent, and combat pests on your elephant ears:
- Inspect and wash your leaves with horticultural soup regularly. Do this once a week to get rid of any bugs currently destroying your plant and to prevent them from coming back.
- Look for holes. If you’re not sure if you have pests, instead look for signs that indicate an infestation, such as holes in the leaves. These pests survive by eating your plant, so this is one of the biggest signs to look out for. Also be aware of any browning or wilting leaves, as these could be a sign of an infestation, as well.
- Use neem oil. Neem oil is effective against pests, but keep in mind that it does have a pretty pungent smell. Mix this with a little bit of water and soap and it should wipe away any pests, organically.
- Buy some ladybugs. If you can get your hands on ladybugs, you can set them free on your elephant ears and let them naturally take care of those pests for you.
- Move your potted, indoor plants around. While you won’t be able to completely ward off a bug infestation, you can make it easier to protect your elephant ear plant by switching up its location. By moving plants around your house, you create more circulation, which in turn, will help decrease the risk of pests.
- Disinfect your tools first. If you used pruning shears to propagate your parent elephant ear plant, wash them before using them for something else. Likewise, make sure they’re washed before using them for your elephant ear plant. Without proper washing, pruning shears can transfer pests from one plant to another. The best way to combat a pest infestation is to take proactive steps such as wiping your shears or shovels with bleach first.
Fungus
Just like with pests, your elephant ears can fall victim to a fungal infection, as well. Fungus is common and you can determine that your elephant ear plant has it if it has spots of furry growth on it.
The most common type of fungal disease elephant ears suffer from is called fungal leaf blight. It usually causes the leaves to droop/collapse, while the disease travels down the stem and to the roots. Phyllosticta is another common ailment. This fungal disease causes holes in the leaves.
So now that you know how to identify these common fungal diseases, how can you combat them or prevent them? Here are a few tips:
- Don’t water them from above. While it’s tempting to water your leaves from the top down, try to avoid this, as this can lead to fungal disease. Instead, water your elephant ears at the base of the plant near the soil.
- Use copper fungicide. If you just planted elephant ears and they already have a fungal disease, add some copper fungicide to combat the infection.
- Avoid overwatering your plants. If your roots are waterlogged, they’re not able to fight off fungal disease. Be consistent with when you water your elephant ears and only water them when the soil is dry to the touch.
- Keep the leaves dry. Though it is okay to mist your leaves to make sure they’re getting the right humidity, it does open them up to fungal disease. According to Jim Bailey, from the Daytona Beach News-Journal, “every time it [elephant ears] get wet, the water coalesces to a low area on the lead and further spreads the spores.” To combat fungal disease, keep your leaves as dry as possible.
- Cut off dead leaves and throw them in the trash. While this won’t necessarily help your elephant ears get rid of the fungal disease, throwing the dead, infected leaves out will prevent the disease from spreading to other plants in your garden — including other elephant ears you may have grown.
FAQ
Should I Prop Up Drooping Leaves?
Generally speaking, elephant ears do not need to be staked to grow. However, if your leaves are drooping because they’ve grown too big, it’s okay to prop them up.
To do so, place your stake near the edge of the pot rather than in the middle of it toward the plant itself. This will give the elephant ear more room to grow.
Should I Cut Off Drooping Elephant Ears?
Even with routine pruning, elephant ears can – and probably will – still droop simply because of how heavy the leaves can get as they age.
So, if you want to cut off drooping elephant ears rather than stake them, you can. Grab gardening shears or use something with a sharp blade to chop the leaves off at the base of the plant.
How Much Water Does an Elephant Ear Plant Need?
Elephant ears are beautiful, but they do require consistent watering – between two and three inches of water, at least, per week. Even though they require a high water intake, you can still run the risk of overwatering them.
To determine whether or not your elephant ears need water, check the soil. If the soil is mildly damp, saturate it until the roots are drenched. Keep in mind that newly planted elephant ears will only need to be watered daily for the first two weeks.
Once this timeframe is over, adjust your watering schedule to the one mentioned earlier in this paragraph.
Should I Prop Up Drooping Leaves?
Generally speaking, elephant ears do not need to be staked to grow. However, if your leaves are drooping because they’ve grown too big, it’s okay to prop them up.
To do so, place your stake near the edge of the pot rather than in the middle of it toward the plant itself. This will give the elephant ear more room to grow.
Final Thoughts
As you can see, there is a lot that goes into caring for elephant ears. Though beautiful, they can be a bit of a high-maintenance plant, so you’ve come to the right place to find out the proper way to care for them.
These beautiful plants can easily liven up any room and are gorgeous to look at. With these tips, you can help identify, prevent, and combat some of the most common issues that elephant ears face including insufficient water, soil issues, location, and fungal disease.