
How to Use Clay Pebbles in Hydroponics

This post follows our research editorial guidelines.
Clay pebbles are a versatile substrate with a lot to offer the hobby grower. Whether you’re moving away from commercial hydro setups or you just feel like experimenting, clay pebbles are a reliable option with predictable properties. They’re a personal favorite, so let’s take a look at how to use clay pebbles in hydroponics.
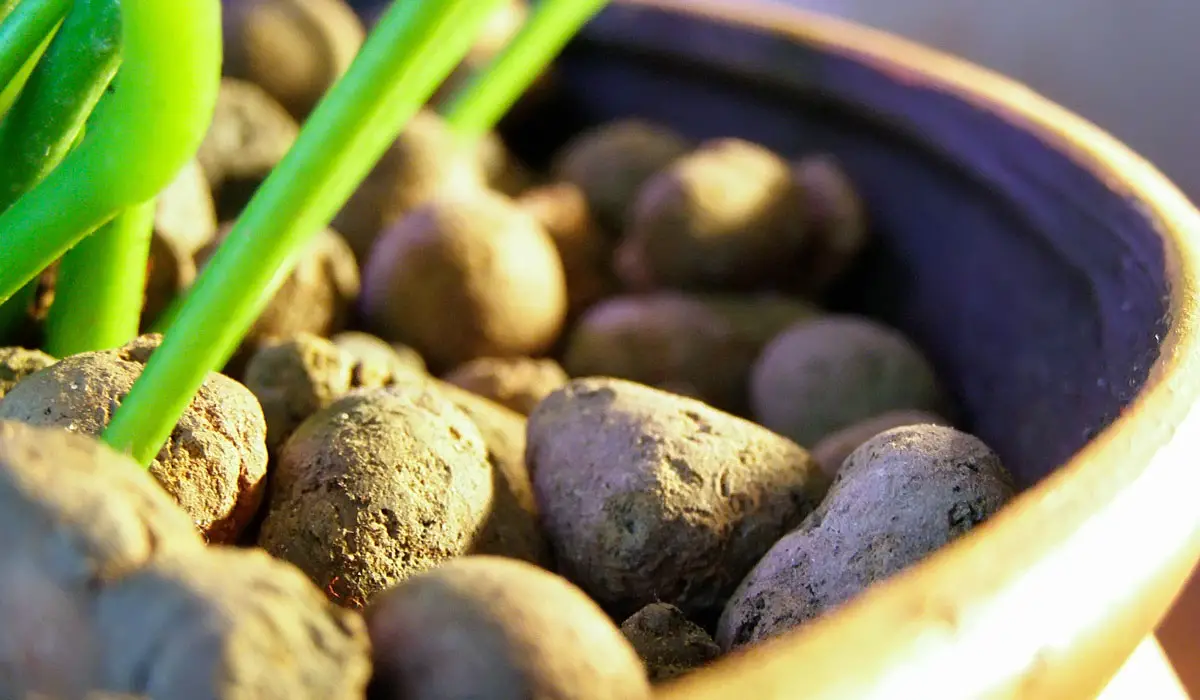
Table of Contents
Why use Clay pebbles in hydroponics
Traded under a bewildering array of different names, clay pebbles are a man-made substrate, a form of expanded clay. They are small, round balls, ranging in size from quite tiny seed sized grains right up to balls a few inches across.
The clay itself can be mined clay, marine clay or even produced as a by-product of high temperature furnaces. Whatever the source, the clay is spun into pellets and cooked in a rotary kiln at temperatures of over 2100°F (1150°C). The resulting product is a light pebble with an open, airy structure and a tough outer shell.
It’s this unique structure that makes clay pebbles so useful for hydroponics. Clay itself has long been valued by gardeners for its water retention and ability to hold nutrients. Once fired those properties change, becoming more stable and easier to use.
“Clay pellets are coarsely textured balls roughly 8-16mm. They are “expanded” by baking at high temperatures, which introduce a high degree of porosity while retaining water retention properties. These characteristics make expanded clay pellets suitable for use as a medium in hydroculture.”
Lia MacLellan, Residential Steward at the Office of Sustainability, University of Maine
5 Reason Why you should use clay pebbles
1. Clay Pebbles are Easy to Work With.
Probably my number one reason for using clay pebbles is just how easy they are to work with. Their size and texture make them easy to handle, so you can use them in a variety of different systems. They sit well in baskets and are easy to plant. Their chunky texture also makes it easy to harvest, too.
Clay pebbles are also very low hazard to work with. Unlike perlite and vermiculite, they don’t release hazardous dust. They’re also quite light given their bulk, providing good solid anchoring for my plants while preserving my back!
2. Clay Pebbles Have Good Growing Statistics
There are a few numbers that are important to consider when choosing a growing medium. They are the Cation Exchange Capacity, Water-Holding Capacity and Air-Filled Porosity. Each is important in its own way.
Cation Exchange Capacity, or CEC, is a term that describes how readily a substrate allows the exchange of positively charged ions. This capacity has a huge impact on how well it handles the nutrients in your solution. The lower the CEC, the less nutrition the medium can hold in reserve for your plants.
Water Holding Capacity (or WHC) is how absorbent a material is. It measures how much liquid the substrate can hold around the roots of the plant.
Finally, Air-Filled Porosity (or AFP) tells us how many pockets of air the material will hold even once it’s drenched. All root systems need the oxygen in air to survive, and without it they can’t process the nutrients around them.
Clay pebbles have some pretty solid statistics. While not as high as organic substrates, clay pebbles have a remarkably good CEC for an inert material. This is especially true if the material is a bit roughed up – its interior pores, once exposed, can triple its CEC.
The specific chemical composition of the clay draws in chemicals from the water around it, allowing it absorb everything from uranium to hazardous industrial waste and more. This effect is not just limited to nasty chemicals – clay pellets also effectively draw nitrogen based compounds from your solution, allowing your plants to reach them more effectively.
It also has a solid WHC – not as good as organic materials, but perfectly serviceable for a hydroponic medium. It allows good flow-through, an excellent property for a water-based system where soggy, over-sodden substrates can bring their own problems.
They also have outstanding AFP, providing abundant oxygen to the roots. The firm but airy structure of the pebbles provides enduring pockets of air that aren’t lost due to decomposition or settling of the substrate. Those air pockets are baked right into the medium and aren’t going anywhere!
These three statistics all work together to paint a picture of a medium that’s good at holding nutrients where the plants need it most, that allows good hydration and excellent aeration too.
3. Clay Pebbles are Inert
Maintaining a good nutrient balance in your growing solution can be tricky business, and the last thing you need is your medium complicating matters. The pH and salinity of your solution impacts how readily the plants can access its nutrition, so you want them to remain predicable and stable.
Clay pebbles are pH neutral. They don’t increase the acidity of your nutrient solution in any way. They also don’t break down over time, changing their own chemical profile or that of the solution around them. Once they’re in place, they’ll perform consistently no matter how long they’re in the water. They also don’t impact salinity, either.
This makes them a very reliable choice. They aren’t here to mess with your program – they’re just going to go with the flow, holding your plants and letting you get on with things.
4. Clay Pebbles are Versatile
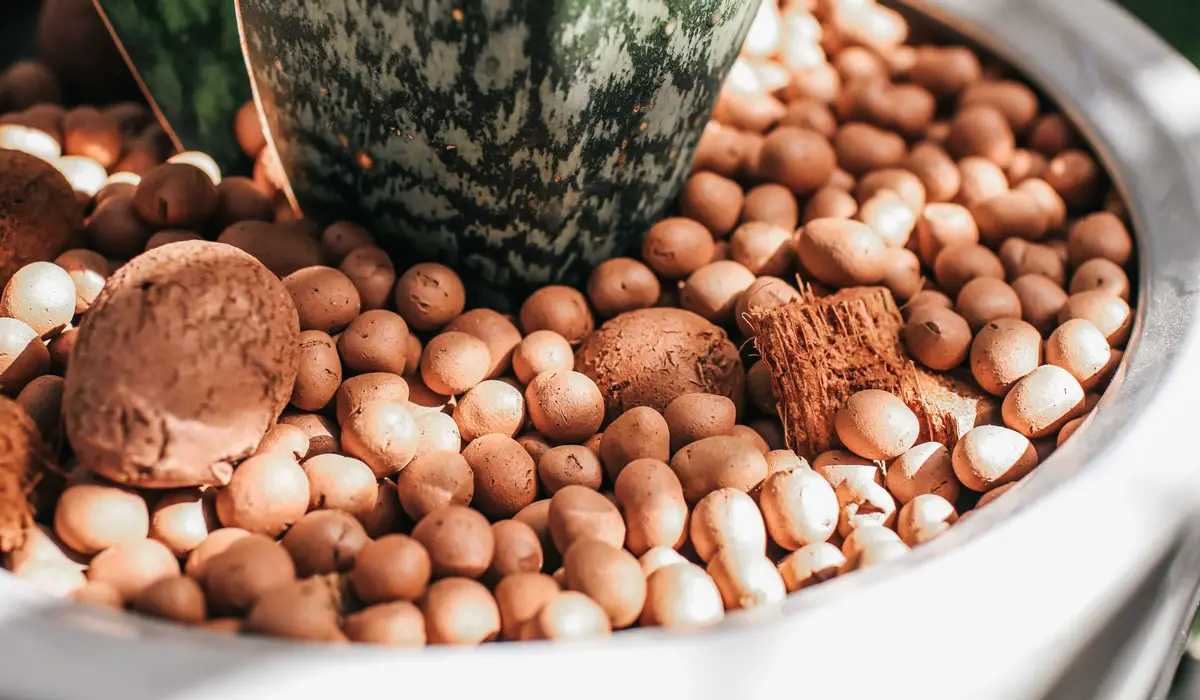
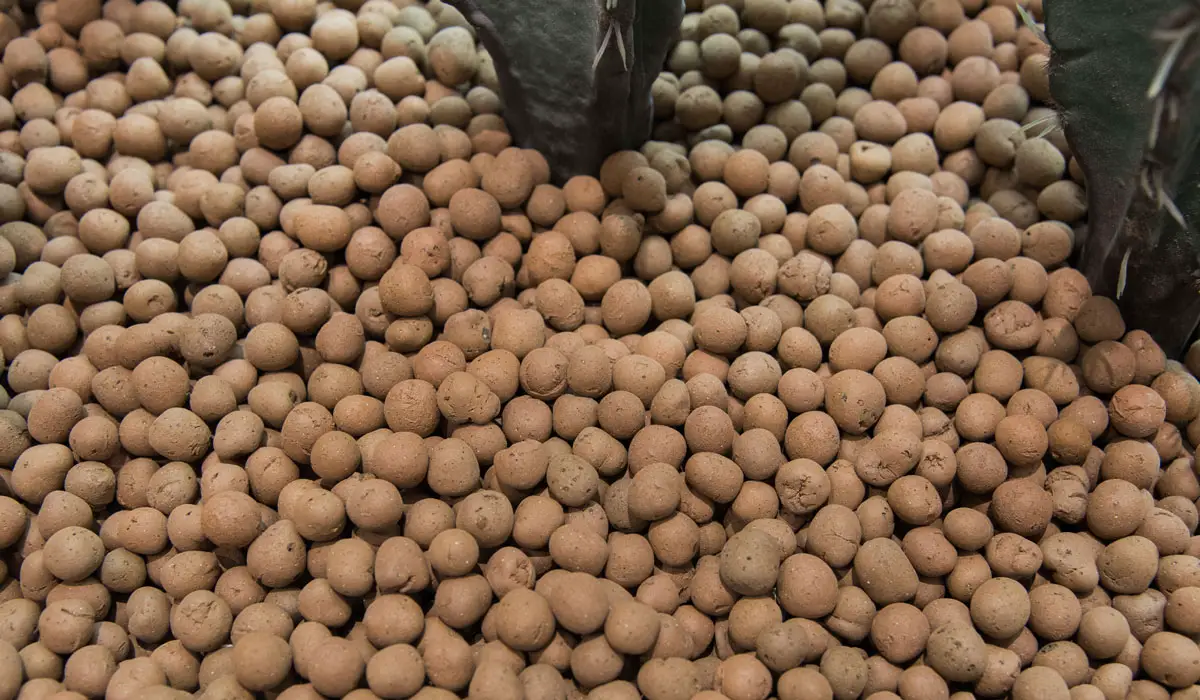
Clay pebbles work in a range of different hydroponics setups. They are a good size and texture to fit in the baskets used in many systems. They’re also manufactured in a range of sizes, so there’s a clay pebble that will fit into just about setup, no matter how small.
Clay pebbles also work well in semi-hydroponic setups. Growing orchids or hoya in glass vase of pristine leca seems to be quite the trend on social media at the moment, highlighting the versatility of this stuff. I can’t imagine an influencer trying to showcase the beauty of bog peat, for example, but clay pellets manage to be both practical and attractive, too.
5. Clay Pebbles are Environmentally Friendly
Unlike many popular substrates, clay pebbles are sustainable and environmentally friendly. The pellets themselves requires no chemically complex techniques to manufacture – humanity has been making things from clay for millennia, after all.
Clay pellets continue to be environmentally friendly over the course of their lives, too. It can be used many, many times, with each re-use cutting down on the number of new materials that have to be manufactured. They can even be sterilized without using hazardous chemicals through boiling or the use of heat.
It doesn’t shed microplastics during use the way Oasis foam does, and once its done it presents no more hazard to the environment than any other lump of clay. They aren’t harvested from delicate ecosystems like peat, either.
If you’re eco minded, clay pebbles are one of the best investments you can make.
How do you start hydroponic clay pebbles seeds?
Starting seeds in clay pebbles is less of a challenge than it seems. There’s a few approaches you can take, largely depending on the amount of fuss you want to go to.
The easiest is to just add the seeds straight to the surface of the clay pebbles. Wild, I know. They’ll settle further town into the pores on the surface the stone, surprisingly secure. Make sure they rest on the damp upper stones, above the water itself. Too much water will drown the seeds and you’ll have a much lower rate of success.
If you want to be certain your seeds haven’t fallen through the basket, you can purchase or even make a small starter plug. The plug will happily rest in your basket of pebbles and provide just that little bit of extra surety.
Commercial plugs made from rockwool, peat or oasis are cheap and easy to find, though I prefer to cut down on waste by making my own plugs from ordinary kitchen sponge. Cellulose sponge is best, as it’s biodegradable. It’s just a matter of cutting a small rectagular plug to size and inserting the seed. I go into making my own seed starters for my Aerogarden here. The only real difference in the process is that once the seed is in the sponge, you pop it into the pebbles instead of the Aerogarden basket. Easy!
I’ve also read good reports of people using cosmetics grade cotton pads or even small squares of paper towel to anchor the seeds to the pebbles before they sprout. It’s good to experiment and find out what works best for your system.
Not matter how you opt to start, it’s best to keep the nets out of your nutrient solution until the seeds have sprouted. This might seem strange if you’re used to plug-and-go systems like the aforementioned Aerogarden, but for most commercial seeds that haven’t been sterilized and processed, too much nutrition can cause algae and fungal issues on the seed.
I let mine rest in a vessel of clean tap water, with the level just below where the seeds are. Once I see those little sprouts, I move them to my system.
6 steps to using clay pebbles in hydroponics
Step 1. Soak
Once you have your clay pebbles, start by giving them a bath. They’re likely to be a bit dusty straight out of the bag. The dust itself is just dirt – bits of clay that have been knocked off during the rougher parts of shipping – so it isn’t hazardous, but it can work its way into your tubing or filters.
I find the best way to wash clay pebbles is to use two buckets or large tubs. Fill one tub with clean, warm water, and add the required quantity of pebbles to one.
Allow the pebbles to soak for two to three hours, agitating the bucket from time to time. This will loosen up any material that’s dried onto the surface of the pebbles.
Step 2. Clean
Once your pebbles have had their spa treatment, its time to clean them.
Take the bucket and agitate the clay pebbles by hand to free up as much dust as you can. Then scoop the pebbles into the clean water. Empty the grubby water and replace it with fresh, then repeat the wash-rinse-scoop pattern until you’re comfortable you’ve got all the dust off.
You can also put them in a large basket and rinse under a flowing tap or showerhead. The important part is getting rid of that clay dust – make sure the water is running clear before you call it done.
Step 3. Sterilize
If you’re growing a sensitive crop or have had problems with fungal issues in the past, you might want to sterilize your pebbles before use. I personally don’t bother when using brand-new stones, but if you’re feeling diligent you can boil them for five to ten minutes. Not much gets past that kind of treatment!
Once boiled, allow them to cool enough to be handled. You can just leave them in the pot to cool, or spread them out on a sheet or tray.
Step 4. Hydrate
Washing and boiling gets a head start on step two – hydration. It’ll make the transfer to your nutrient solution more efficient. Well-soaked pebbles are also gentler on the roots of any transplanted seedlings, and are a necessity when attempting to germinate seeds.
When planting seedlings, I give my pebbles a good soak overnight in a half-strength nutrient solution. It’ll give the incoming seedlings a boost while protecting fragile roots from nitrogen overload. But for germinating seeds plain water is better.
Step 5. Prepare
Once your pebbles have been prepared, it’s time to plant. Place them into your growing baskets or other substrate container, filling to about a third of the way up. Add your seedling and fill around the roots gently with more pebbles.
Step 6. Plant
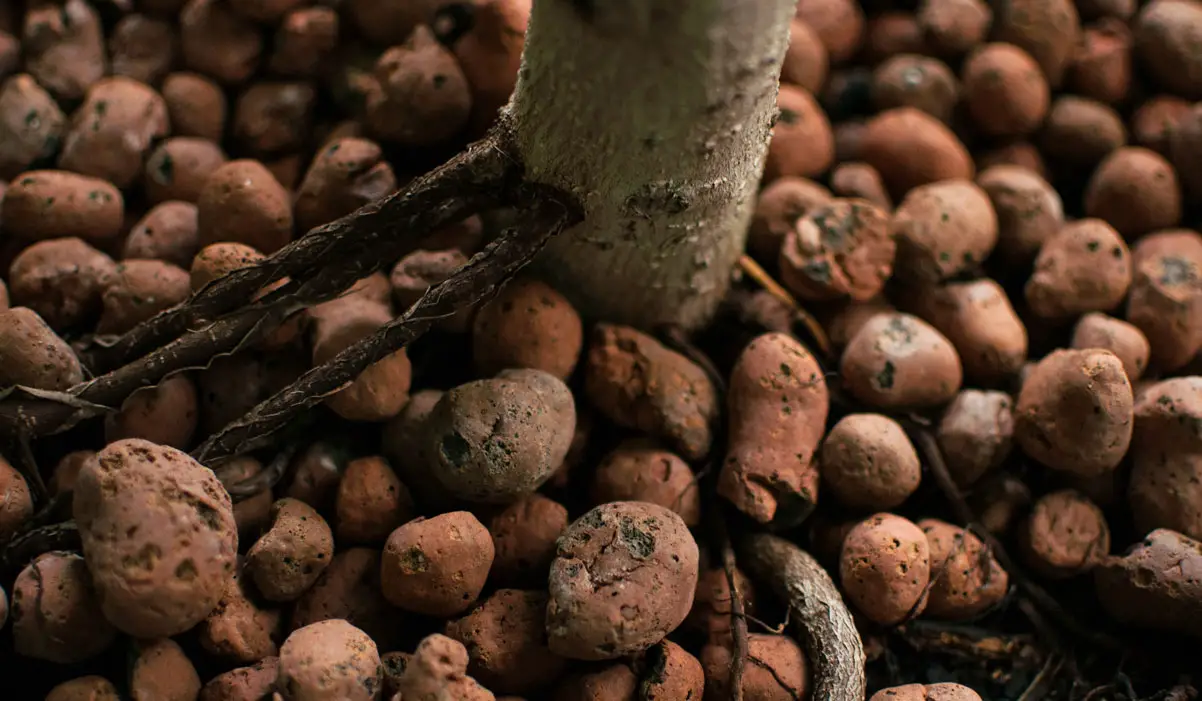
You can now put your freshly planted seedling into your hydroponics setup. Be mindful that clay pebbles don’t absorb as much as other mediums, so you’ll need to ensure your flow keeps them wet. But on the plus side, there’s no chance of the new roots becoming waterlogged.
How to clean clay pebbles after being used
In order to reuse your clay pebbles you’ll need to make sure they are cleaned and sterilized first. Even if you’ve had no dramas at all from your plants, it’ll prevent the buildup of hazardous bacteria and fungi in the pores of the pebbles.
Start by thoroughly cleaning your clay pebbles in warm water. While it’s tempting to use a soap, they can get into the pores and be hard to flush, negatively impacting your next crop. You can add a teaspoon or two of baking soda if you’d really like a safe extra boost to clearing the pebbles of plant matter.
I like to give mine a good soak for a few hours in hot water before I start rinsing, using the same technique outlined above. This helps loosen any stray plant material still in the pebbles. It’ll also dissolve any remaining mineral salts or nutrients bound to their surface. Agitate and rinse as many times as required.
Once the pebbles are free of debris, put them in a large pot with lots of clean water. Boil at a high, rolling boil for five to ten minutes, stirring regularly to help clear any remaining plant matter stuck to the pebbles. Don’t be alarmed by any debris foaming at the surface – you’re trying to get grime out of the pebbles, after all.
I also find the whole process on occasion stinks to high heaven. You aren’t doing it wrong if it smells dreadful. I just file it away with animal manure and well-rotted compost – sometimes gardening reeks!
Once cool, drain and lay them out to dry on a clean sheet or tray, depending on the quantity. Allow them to dry for 24-72 hours before storing them in a cool, dark place.
If you’re about to use pebbles that have been in storage for a while, I’d suggest giving them another rinse and a boil before you plant. It’ll knock out any mold spores or other creepy crawlies that have found their way in during storage.
Final thoughts
Clay pebbles are one of my favorite substrates to use in my hydroponics setups. They’re environmentally friendly and versatile, making them a good option as I experiment with new ways of growing. It’s good to know that I can rely on them to deliver consistent results across all my experiments!