
How to Grow AeroGarden Broccoli

This post follows our research editorial guidelines.
Broccoli adds nutrients and crunch to meet your daily greens requirement. What is even better is that you can grow it indoors quickly with AeroGarden. Broccoli seeds are one of the many varieties of seeds that grow best when they are sprouted indoors and then later transplanted outside when the weather allows it.
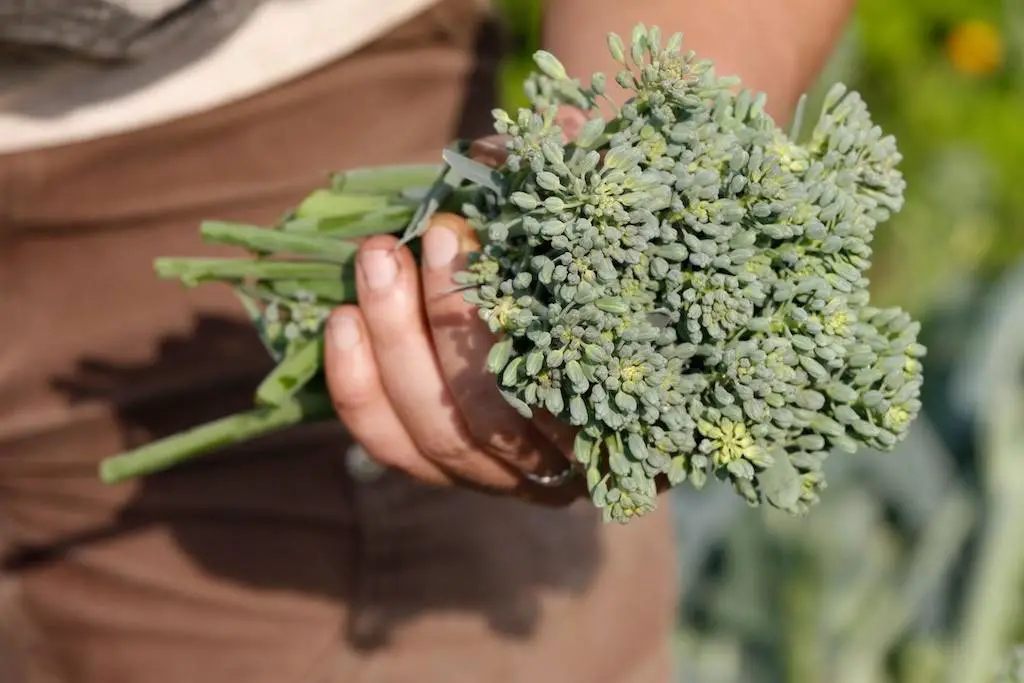
Table of Contents
Can you grow broccoli in AeroGarden?
As I have already discussed, broccoli is one of those seeds that thrive when sprouted indoors in optimal growth conditions. So, yes, growing them in an AeroGarden is not only possible but also a great choice.
However, you must remember that you can start the broccoli plant in an AeroGarden. It will eventually outgrow your smart garden and require transplantation to the outside soil. It is one of the many plants that become too big to continue to grow indoors.
You will also have to make your own seed pods since the ready-to-use broccoli seed pods are unavailable. The great news is that it is pretty simple to make your seed pods, which can be done by recycling previously used grow baskets for other plants like peppers or tomatoes .
How to grow broccoli with AeroGarden
Since broccoli seed pods for an AeroGarden are not available on the market, you will have to resort to alternative methods to make your own. Luckily, it is a simple task to make them.
I will share two foolproof methods of making your broccoli seed pods that will easily replace market-ready varieties.
If it is your first time using an AeroGarden, then the simplest way to make your seed pods is to buy broccoli seeds, along with a grow anything seed kit. This kit comes with all the things required to make your own seed pods, minus the broccoli seeds.
However, it is not your first foray with an AeroGarden. Chances are you already have essential plastic parts available to reuse that not only make this DIY attempt at making seed pods child’s play but economical.
You can use the plastic grow baskets and the plastic domes from your previous plantings. You should also buy broccoli seeds, grow sponges, grow labels, and the required nutrients. If you want, you can also replace the seed sponges with weatherstripping seals used for air conditioners or open-celled foam for an even cheaper alternative. The plastic components’ longevity makes them ideal to reuse for different seeds.
Once you have everything you need for the seed pods, the following assembly steps are the same for both methods.
Step 1: Improve your odds of seed germination
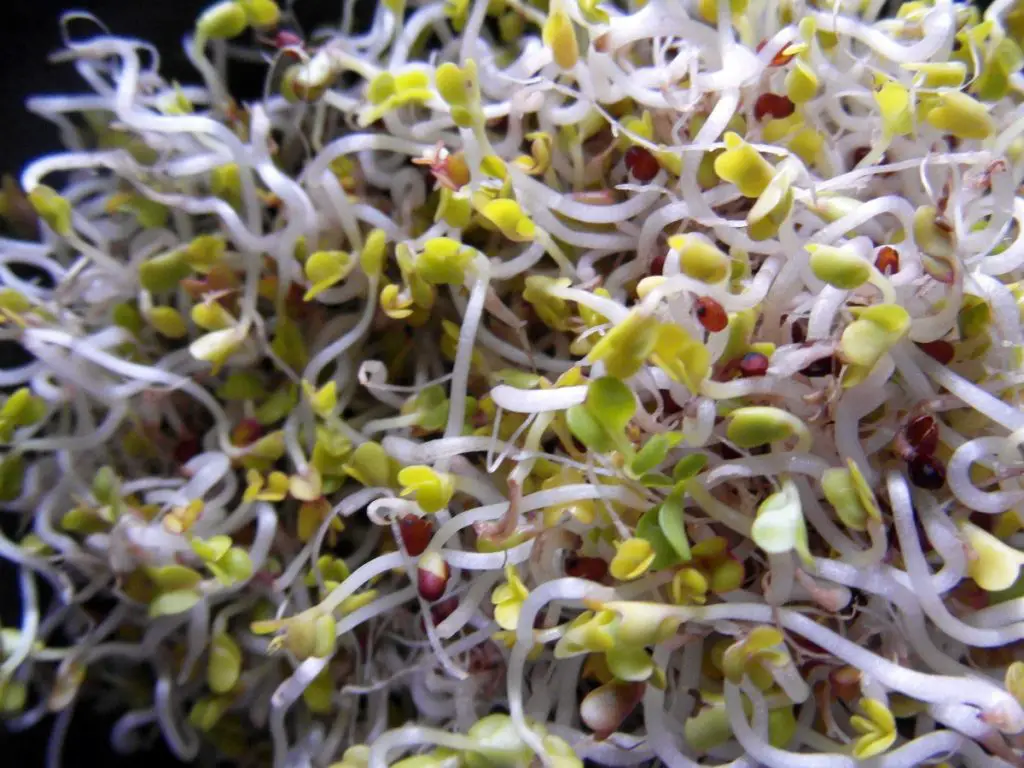
Begin by inserting three seeds in each grow sponge. The reasoning behind using three seeds instead of one is to improve your girth success rate. Eventually, the seed most potent out of the three will overshadow the other two seeds.
Step 2: Carefully place the seed pods in the growing chamber
Now, place the seed-infused sponges in the grow baskets. Push them in, taking care not to shove them in too deep.
Step 3: Keep track of the names
Take a hot iron and go over the growing label with it. Exercise caution during this step, or you can just completely leave it out if grow labels are not something you particularly want. You can leave out this step because the absence of grow labels does not affect seed germination. Therefore, if you choose to, you can grow your seeds without them.
Step 4: Secure the grow baskets
Now that your grow baskets are ready, you can push them in the AeroGarden slots until you hear a click. The same goes for the plastic domes -click them in place, and your job is done. Leave ample space between the seed pods since broccoli grows up to take a lot of space.
AeroGarden broccoli timeline
Between planting the seeds and transplantation, there is usually a waiting period of seven weeks. You have to wait for at least three strong stems sprouting from the main one to transplant the broccoli. You will notice some changes (if you don’t, then re-evaluate your seeding process) and then decide the best time to plant the broccoli sprouts in fresh soil.
Week 1: The waiting game begins
In the first week, you will have to ensure you have followed the instructions carefully and the seed pods have the required nutrient solution for growth. This week, more than ever, patience is vital. You won’t be seeing the fruit (or, in this case, vegetable) of your labor any time soon, but creating an optimal growth condition will help you in the coming weeks. You have to wait at least a week before the seeds start to germinate.
Week 2: Small stem is visible
This week you may see a few leaves growing from a small stem. Do not be discouraged if that is not the case. Some seeds may take longer for any leaves to grow.
Week 3: Fresh leaves grow from stem
By now, you should see a small stem with a few fresh leaves peeking out of your seed pods. If not, ensure there is enough plant food in the water, and the water you have used has a pH of over 6.
Week 4: Steady stem growth continues
Hopefully, you have kept a close eye on your seed pods to maintain optimal growth requirements since you have been waiting close to a month. A little more delay, and you will soon be able to enjoy delicious homegrown broccoli.
Week 5: More leaves on display
You will know there is not too much time left for transplantation when the stems start to grow more robust with more leaves on display.
Week 6: Strong stems on show
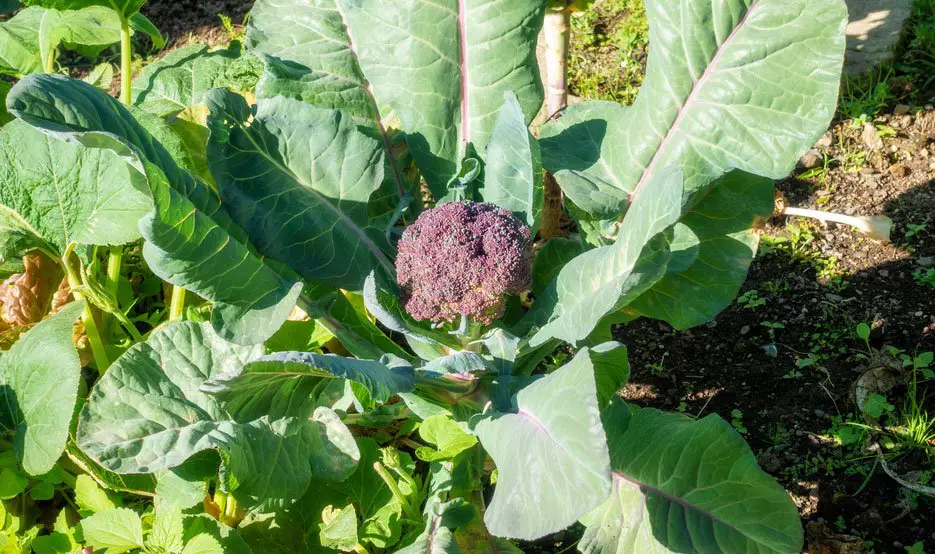
By now, some of you may notice three-string stems sprouting out of the main stem. If that is the case, you should transplant the broccoli to fresh soil. The strong stems indicate a robust enough root system underneath to hold on its own in soil. If you see limbs, but they do not seem strong enough, you should wait another week for the transplantation to allow the plant the best chances to continue healthy growth.
Week 7: Transplantation time
Around week 7, the plant will become too big to be contained in your AeroGarden and must be transplanted into soil.
How to transplant broccoli from your AeroGarden to the soil?
When transplanting broccoli from an AeroGarden, make sure to keep in mind that it can grow up to be a very space-consuming plant. Thus, choosing the right sized container for transplantation is very important – failure to do so would hinder the plant’s ability to keep growing to its full potential.
There are two options that you can go for when transplanting broccoli. You can move the plant directly to outside soil or transfer the plant to a container and wait a couple of weeks before moving it outdoors. Since your indoor plant understandably will take some time before adjusting to the outside environment and temperature, I would highly recommend going with the latter option.
Step 1: Carefully remove from the grow pod
When transplanting broccoli, do not hold it by the stem but by the grow baskets – hook two fingers and carefully pull them out. Keep in mind that this might take some time since the roots underneath tend to intertwine. Be very cautious. If you cannot get the roots to untangle at all, you may use garden shears to cut the roots, but I would recommend salvaging what you have spent so many weeks growing.
Step 2: Make space in your pot
Keep the container big. You can for 3-gallon to a 15-gallon size depending on how many pods you will be planting. There should be 12 to 20 inches of space between the plants. To make this step easier, use pre-fertilized soil and fill the container halfway.
Step 3: Reduce or re-use the AeroGarden pods
Now you have to take the seed pods out of the grow baskets. Even though you can cut the baskets using heavy-duty scissors, I consider this to be a waste of good reusable plastic components of your AeroGarden. It would be much more economical to try taking the grow sponges out and saving the baskets for later use. However, do not be forceful. Even though it would be wasteful, your priority should be getting the plant out without damaging it. So, if you cannot wriggle the seed pod out, use high-quality gardening shears and cut the basket lengthwise.
Step 4: Plant and pack
Once the pod is removed, plant it in the soil. It would be prudent to leave the grow sponge in as it would provide a tremendous growing surface along with your pre-fertilized soil for the broccoli plant to grow. Once planted, fill the remaining container with soil and pack it around the top. Take care not to overfill for easy movement and replacement when needed.
Step 5: Water regularly
Make sure to water the plant enough to maintain moisture in the soil. For this, you will have to balance how much water the plant needs and how frequently you should water it. Overwatering does more harm than good. For the first week after transplantation, keep the plant away from direct sunlight, giving it time to settle. After a week, please move to a sunnier location for an added week before moving it outside. Note that you can stop at this step if you do not have a garden to plant the broccoli directly into the soil.
Step 6: Water regularly (Optional)
If you plan on moving the broccoli outside to eventually plant it into the soil, start the exposure to sunlight gradually – moving on from one hour a day to a few hours over two weeks. After this time, the plant will survive the day outside – be patient with the transition. Now, you can place the plant in wet soil. If you haven’t used pre-fertilized soil, do a soil test and add the required fertilizers for healthy growth. The ideal soil pH for the broccoli plant is between 6 to 7.
Note: Be careful to plant broccoli outside when the temperature is between 45 to 75 degrees Fahrenheit.
How to take care of AeroGarden broccoli
Now that you have taken so much care to transplant your AeroGarden broccoli, you need to take care of it to keep growing. Transplanted broccoli should be spaced 2 to 3 feet apart in the soil. Maintain a watering schedule that will keep the soil moist without overdoing it.
According to Vegetable Specialists Dan Drost and Michael Johnson, “Water broccoli deeply and infrequently while trying to maintain even soil moisture. About 1-2 inches of water are required per week. Use drip irrigation if possible to conserve water. Applying mulch around the plant also helps conserve soil moisture and reduce weed growth.”
Ensure the plant’s placement is in an area that gets at least six hours of sunlight. Use a low nitrogen fertilizer three weeks after the transplantation. Avoid watering developing broccoli heads as they can quickly rot. To minimize the threat of pests, you should go for row covers. After the main broccoli head has been harvested, you will need to continue good watering and feeding practices to encourage second head and side shoot growth. Opting for plastic mulch will help you manage weeds and soil moisture. It will also help mature transplants better. Organic mulches are the best option for higher temperatures (over 80 degrees Fahrenheit) to regulate soil temperature and control weeds.
How to harvest broccoli
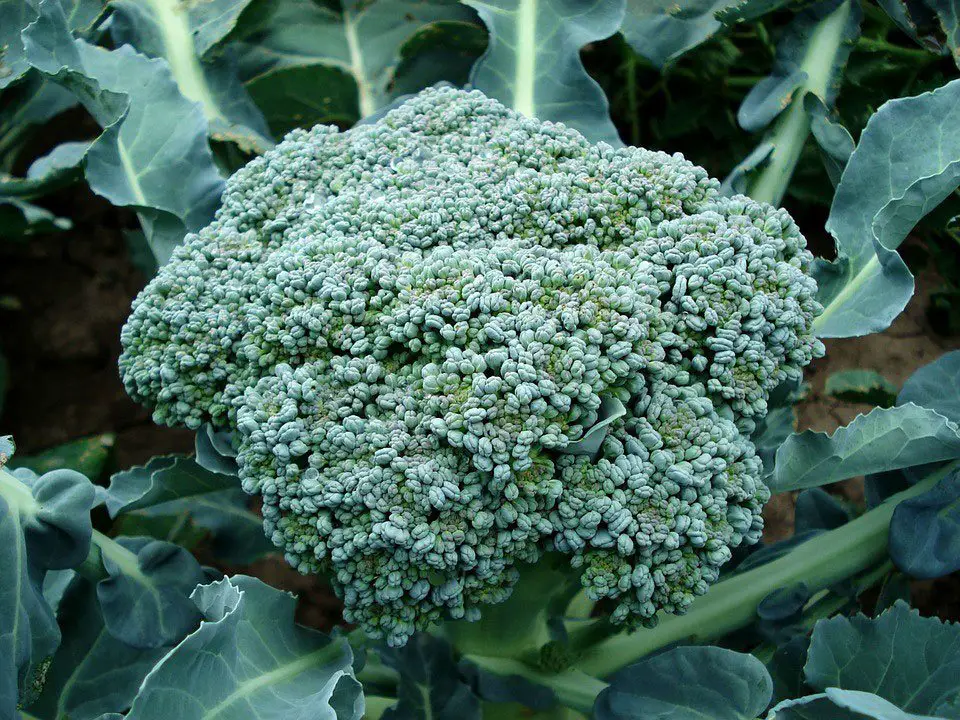
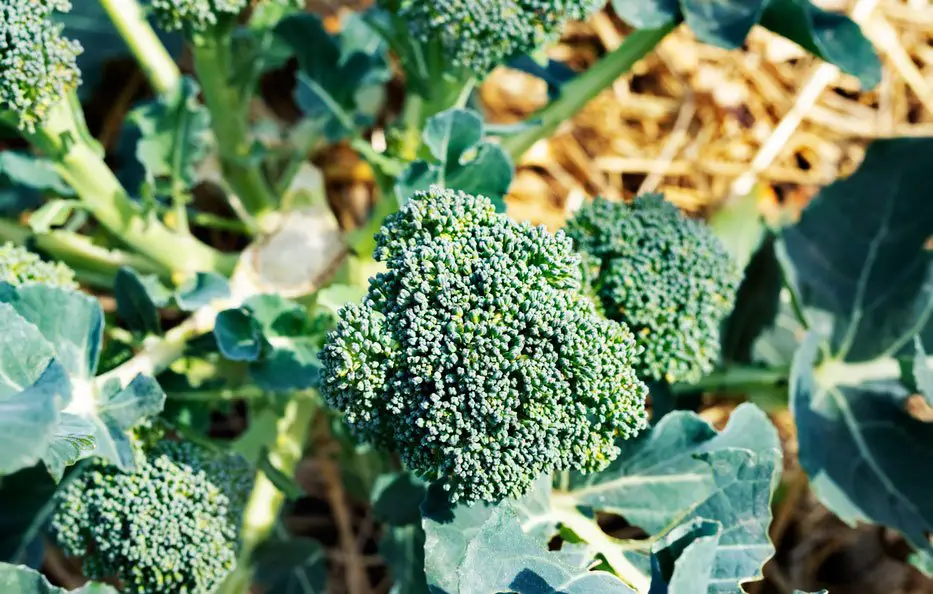
After about three weeks of transplantation, keep an eye out for the main head to be firm and compact. Take care to harvest early in the morning for a fresher broccoli head since cooler soil can maintain moisture the best. Make sure your knife and garden shears are sharp for a clean-cut, which will promote further growth once the main head is harvested.
Method A: Main Head Harvest
Using your knife, make a clean angled cut five to eight-inch on the stem below the head. The broccoli head could be anywhere around three to six inches big. Making an angled cut is essential since a straight cut could pool over the exposed stem and cause it to rot. It would be prudent to harvest the broccoli head before you see any flowers appearing since that will cause the quality of the broccoli head to go down.
Method B: Side Shoot Harvest
With this method, you can harvest side shoots for three months. Check back for any shoot growth on the side. Use garden shears and make angled cuts for two-inch long stems, just like you did with the central head stalk. In this way, you can cut a part of the head instead of the whole thing. This method would allow you to harvest several times during one growing season.
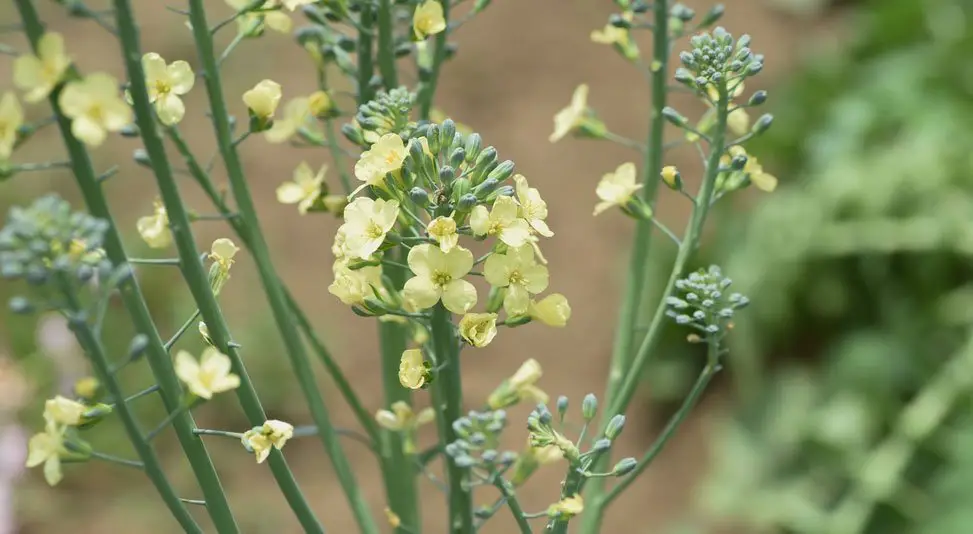
Method C: Flowering Plant Harvest
After the main head and the side shoot harvest, if your plant has flowers, you can use shears to cut them off as well. The flowers are edible but have a sweet taste and can be used in various recipes.
Final Thoughts
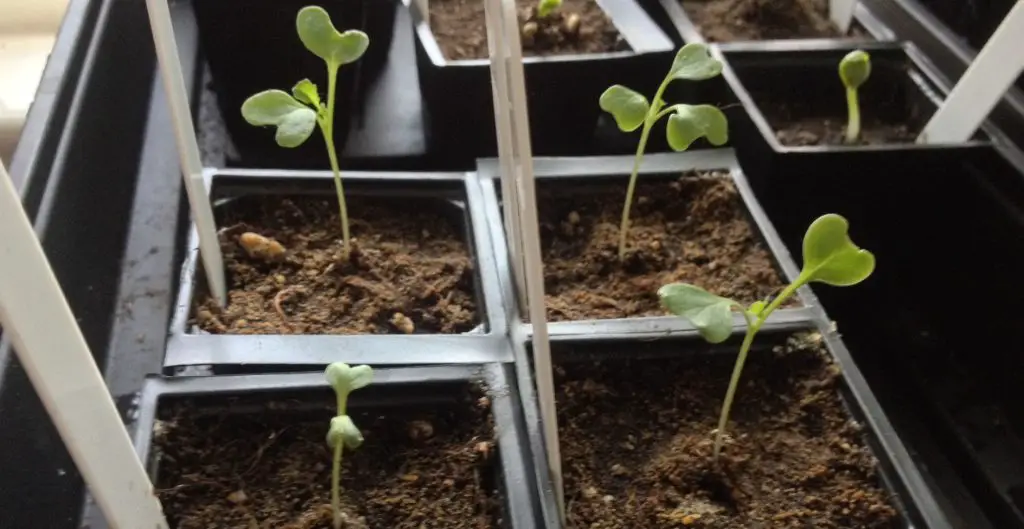
By now you should start to see a few green heads poking up from the soil below. Since tomatoes are a large crop that need lots of space, you’re only going to want 1 seedling to survive.
In the case where you have more than 1 seedling above the soil it’s time to exercise some natural selection. Take a look at each seedling to identify the strongest one and cut away the rest that stand.
To find the strongest seedling, look for “true leaves” that have developed. These are the leaves that most resemble what a tomato leaf looks like and will differ from the baby round leaves that develop first. The healthier the true leaves look the better.
This information was great & explained well & I am moving my broccoli outside to acclimate it to outdoors before I plant it in the grow bag! Wish me luck this is my first transplant from hydroponics to soil👍
Good luck Donna! Now is a great time to transplant your broccoli before the mid-day sun gets too strong. 🙂