
How to grow the best basil with AeroGarden

This post follows our research editorial guidelines.
One of the tried and true fresh herbs often grown in the AeroGarden systems is Basil. This herb is not exclusive to Italian meals like pasta or pizza as it comes in so many different varieties and flavors.
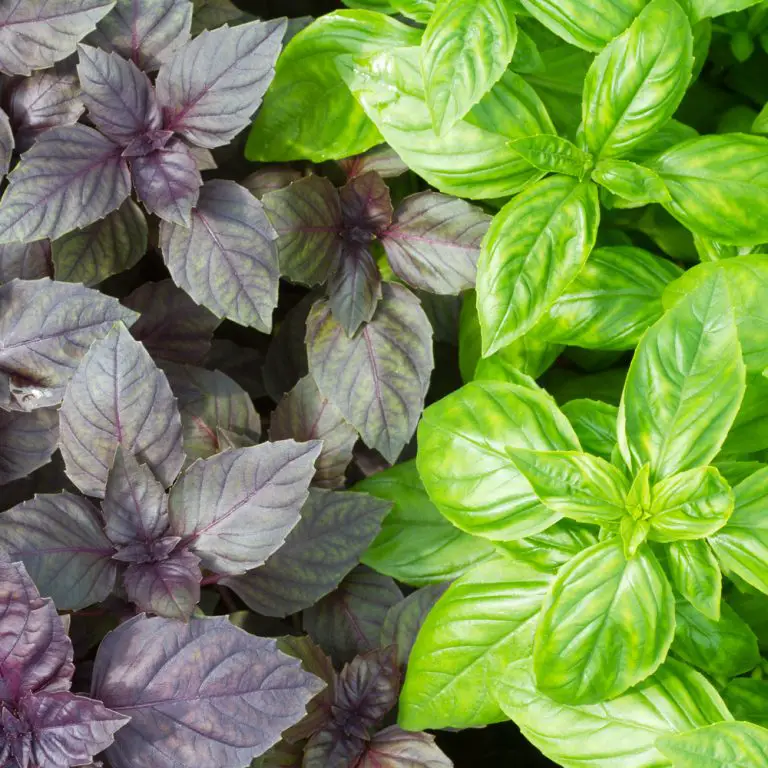
Genovese basil is one of the ingredients you can expect to see on your margherita pizza or in your pesto. It has a sweet and subtle spice flavor that is a staple herb for chefs. On the other end of the spectrum, you have Thai Basil or Lemon Basil which are used in eastern dishes like spiced beef and soup. Thai Basil is peppery and has anise or licorice flavor which may not go well with a pepperoni pizza!
Regardless of the variety you choose, AeroGarden basil will grow well under certain conditions. Since you will be harvesting the leaves of the herb it’s best to have the plant focus on 2 key areas. You want your basil plant to grow many leaves in a bushy structure and cut the tops often so that flowers do not form
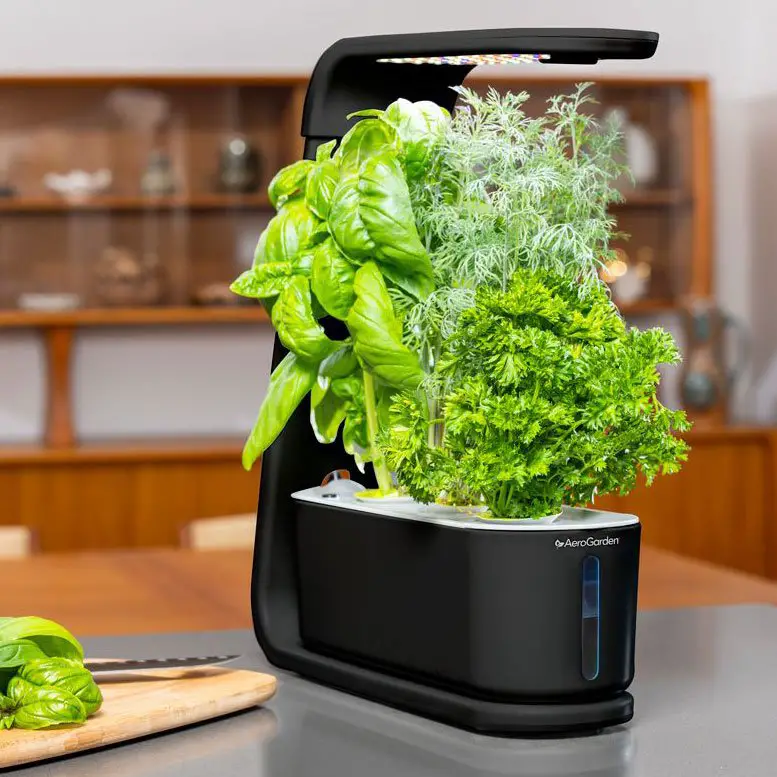
Table of Contents
How to grow Basil in AeroGarden?
Once the seed pods have sprouted keep a close eye on their growth. It’s important to deter tall plants from growing especially if you are using the AeroGarden Sprout which has limited head space. Once the basil plant reaches 6 inches or has at least 5 nodes of new leaves it’s time to cut the top. Cutting just below the top cluster of leaves will ensure the basil plant focuses energy on new shoots. If left uncut the basil plant will instead keep growing straight up until it reaches or passes the AeroGarden light.
How often should AeroGarden plant food be used?
Feeding your vegetables or herbs in your AeroGarden will depend on the number of seed pods you have occupied. Greens like lettuce or herbs are well suited for for smaller AeroGarden like the Harvest or Sprout models. Follow the steps below for proper feeding regardless of what you are growing.
2 & 3 Plants in your seed pod kit:
- 4ml in your AeroGarden at start up and every 2 weeks
6 & 7 Plants in your seed pod kit
- 8ml in your AeroGarden at start up and every 2 weeks
9 Plants in your seed pod kit
- 8ml in your AeroGarden at start up and 12ml every 2 weeks
12 Plants in your seed pod kit
- 16ml in your AeroGarden at start up and 24ml every 2 weeks
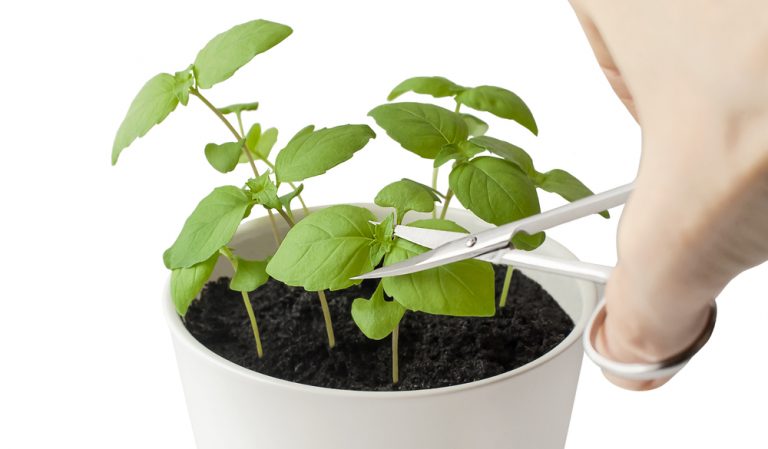
How to cut AeroGarden Basil
Pruning your plants should happen every 3 weeks as you start to notice new height growth. Take a clean pair of gardening shears or scissors and cut just below the top cluster of leaves. Pruning the top will now leave room for the next 2 top points to receive more light. At the next 3 week cycle point you should have 2 top leaf clusters that need cutting then eventually 4. Doing this will start to create a basil bush rather than a basil stem with few leaves.
If you begin to notice small flowers appearing on the basil plant be sure to cut these off before they have a chance to form. Basil flowers are a trigger that tell the herb to stop producing leaves and focus energy on making seeds. This is not something you want if your looking to make pesto or Thai basil soup!
Warning
When you are cutting or handling any plant in your AeroGarden system personal hygiene is very important. Consider this your operating room and that any spec of bacteria could infect your plants. Before cutting make sure your hands are clean as well as the tools you are using. This will extend the life of your basil plant.
How to harvest your basil plant
Like most herbs basil is a beginner friendly choice for new AeroGarden growers. No green thumb is needed for harvesting basil at the correct time since its always ready for harvest! Simply cut off a the leaves at the top and middle leaving a few leaves near the bottom to help re-develop the plant.
While there is no wrong time to harvest a basil leaf it’s best to wait until they are around an inch and a half in size. Smaller leaves will taste fine but as they get bigger and greener the flavor will continue to develop.
The great thing about basil is that when you cut off a leaf the plant will re-grow 2 new ones. Actively harvesting from the plant will work to promote new growth and give you a bigger harvest for the next time.
Small Harvest Tips
If you only need a dash of basil for your Italian dish then the place the leaves are taken from is less important. Pick out the 3-4 best looking leaves that look healthy and have vibrant colours. Sometimes basil leaves will begin to curl down when they are reaching peak flavor so it’s best to pick those first.
Large Harvest Tips
When you are looking for more than a handful of fresh herbs for something like pesto, a larger harvest is needed. Start at the top of the plant and work your way down. When harvesting a large amount of basil, you are going to want to take the stems along with the leaves. Leaving to much of the stems behind will leave you with small growth at the top and not much in the middle. If you happen to be making basil pesto the stems have flavor and can be added to the blender in small amounts.
Final harvest tips
Similar to the large harvest you can go ahead and cut down the stems, this time at the base of the seed pod. If you are in a hurry then you won’t need to cut off each individual leaf. Instead hold the stem with the leaf’s upside down, pinch the stem at the base which is now at the top and pull down. This will take the most of the plant with the least amount of effort. Make sure you pick out any brown or yellow leaves, these will have poor flavor and presentation.
How long does basil last in an AeroGarden?
The manufacturer of seeds used in the AeroGarden states on their website that you can expect 4 months of growth from a basil plant. In my experience this is on the low end and often times you can expect 6 months or longer. In order to have your basil plant grow longer be sure to harvest or prune the plant regularly. If you see the basil plant beginning to produce flowers, prune them immediately. This is a sign that the basil plant is nearing the end of its life and is trying to produce seeds. If you can continue to hold the flower off from producing seeds than you will be able to extend the life of your basil plant.
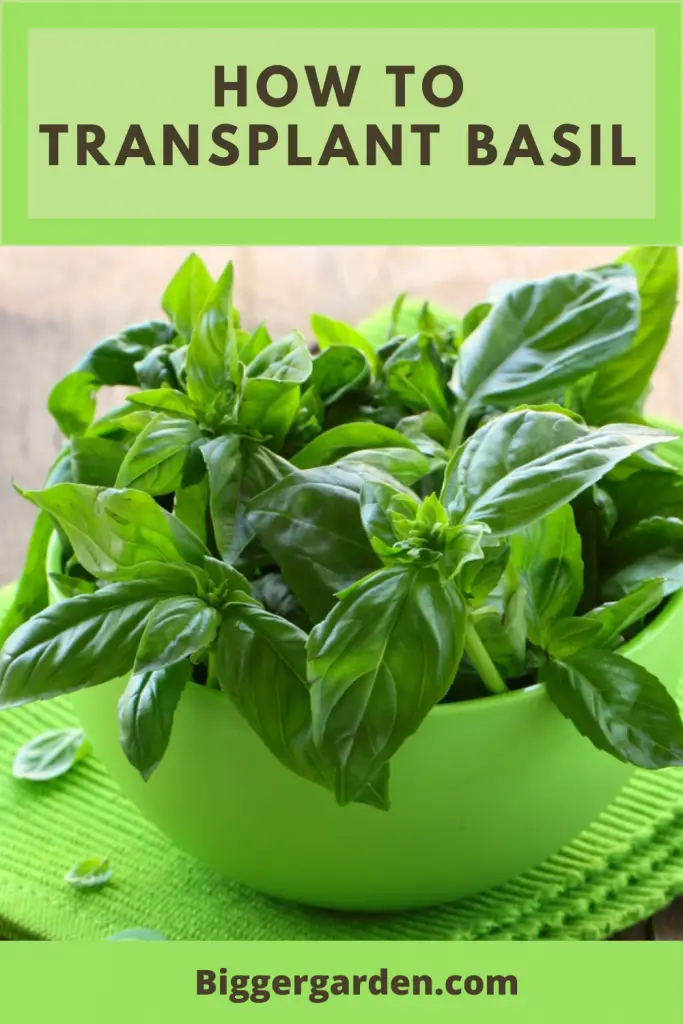
How to transplant basil
No need to worry if you are new to gardening transplanting basil is extremely easy. There are 2 ways this can be achieved depending on if you want to keep your main plant in your AeroGarden or not.
Method A: New Plants
The first method of transplanting basil is for those looking to keep their original or “mother” plant left in the AeroGarden system. For this method simply take 1 or more cuttings from the basil plant as close as you can to the main stem. Take off the smaller leaves at the bottom of each stem so that there is a 1-2 inch section with no leaves at the bottom. This is where the plant will sit in the water and the roots will develop. Place each cutting with a cluster of new growth at the top in a cup of water in direct sunlight. After 2-3 weeks new roots will have formed where the water is touching the stem. You can now follow the transplanting steps outlined below.
(optional) place each stem in a root stimulation powder of light liquid solution of liquid kelp. The plant hormones found in these mixtures will help speed up the root development process.
Method B: Whole Transplant
This method is for those who are no longer interested in keeping the herb in their AeroGarden system. If you plan on transplanting the entire basil plant then there are no need create and root cuttings. Simple loosen the plant from the grow basket being careful not to damage the roots. Now follow the steps outlined below.
Step 1: Prepare the garden or pot for transplanting
While it may seem like a step that can wait, ensuring a quick transition will keep your plants happy. There have been a few times where I have put this step off until last only to scramble as my plants wilted from a strong summer heat. So, start by filling your pot with fresh potting soil, if you are not using pre-fertilized soil you should mix in 2 tablespoons of 4-4-4 well rounded fertilizer in the bottom 2 -3 inches as a reward for the roots once they have developed. If you are transplanting directly into the garden then you will need to dig a hole in diameter that is at least the width of the basil plants canopy. As with the potted option mix in the 2 tablespoons of fertilizer at the bottom of your dug out hole. Fill in some dirt so there will be at least 4 inches between the fertilizer and the bottom of the roots to avoid shock or burning.
Step 2: Remove the basil plant from the AeroGarden
If you decided to remove the entire herb from the AeroGarden then start by loosing the roots from the seed pod. Roots are a sensitive part of any plant and should be treated with care. Luckily herbs like basil have a resilient root system which can handle light damage.
Step 3: Plant your basil in full sun
While herbs like basil can handle growing in partial shade it will grow more vigorously in full sun. Since your hole has already been pre-dug back in step 1 all you have to do is place your plant in the hole. Fill in the dirt around the transplant and take some time to adjust the position. Once you are satisfied lightly tamp the soil around the base so that there are no leaves under the dirt and the grow sponge is properly covered.
Step 4: Keep the soil moist by watering regularly
Transplanting can be a stressful time for your plants. Ensuring that water is always available will take that edge off and not stress the transplant any further. I prefer to water my plants either before as the sun rises or as it sets. This will avoid the water from evaporating during the mid-day heat.
Important
Basil will grow best in full sun so if you plan on keeping transplants indoors then be sure to keep them in a sunny window. Aside from looking at the sunlight coming in throughout the day you can tell a window get’s a lot of sun by the position it has. North and south facing windows are best for optimal sunlight.
Conclusion
Basil can be a great herb to grow for any grower beginner or seasoned. From globe basil to Thai there are so many different varieties of flavors to choose from, basil can be a fun herb to grow over and over again. You can expect to have each plant live for 4-6 months depending on how often you prune. If you have any questions leave them in the comments below!
Before you go!
Hydroponic Nutrient Solution: A Complete Guide for Beginner Hydroponics
The Secret to Growing Hydroponic Blueberries At Home
Are Plants Grown Hydroponically Organic? The Dirty Truth
How to Grow Hydroponic Plants with Coco Coir? Choosing The Best type